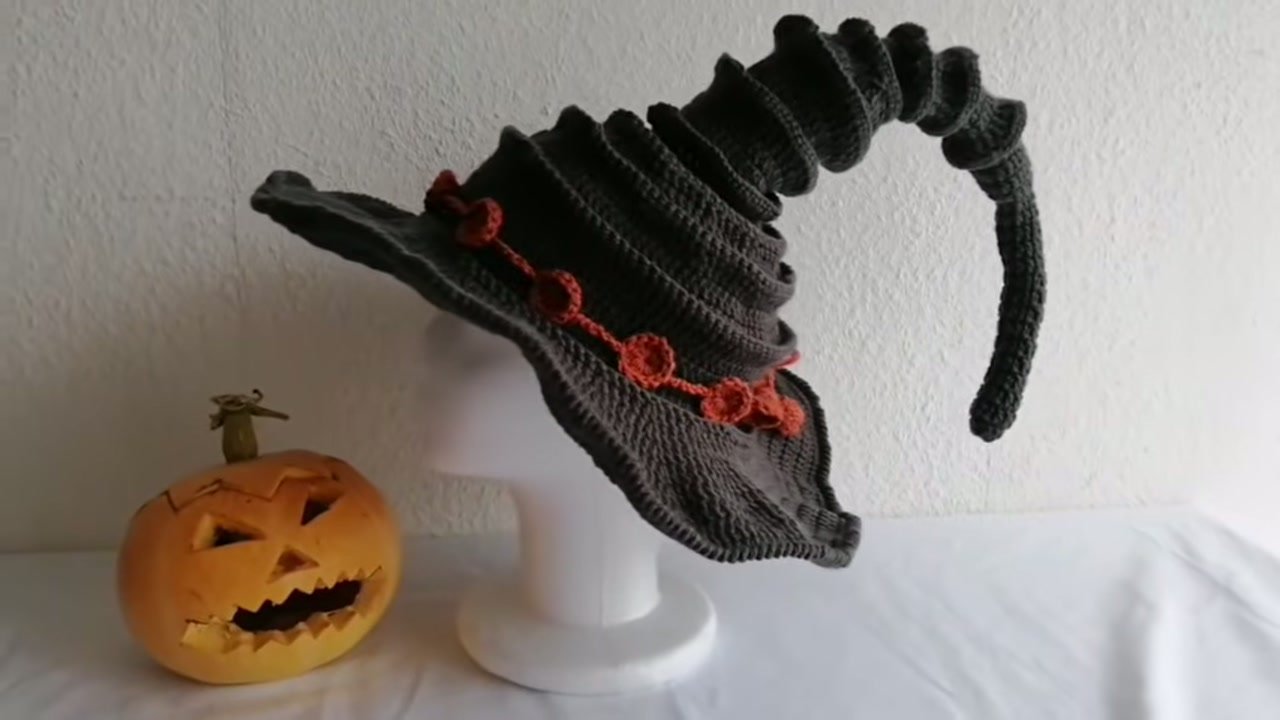
If you are looking for a fun Halloween project, this crochet witch hat is a wonderful make. In this tutorial I am going to walk you through how to crochet a witch hat from the very tip of the cone all the way down to the wide, wired brim. You can make it in classic black with a pop of orange, or swap the colours to suit your own style. The full video tutorial and the complete written pattern are both in this post.
This hat is worked mostly in double crochet rows, which makes it a satisfying project once you get into the rhythm of it. There are seven parts in total, but each one builds naturally on the last, so you will always know where you are.
Table of Contents
- What Will I Learn?
- Materials and Tools
- Pattern Notes and Abbreviations
- The Written Pattern
- Video Tutorial
- Tips and Common Mistakes
- Make More
- FAQ
What Will I Learn?
By working through this pattern you will practise a useful set of crochet skills:
- Starting from a foundation chain
- Working double crochet rows evenly
- Increasing stitches at regular intervals to shape a cone and a brim
- Working single crochet for a neat edging
- Finishing with reverse single crochet (crab stitch) for a polished brim edge
- Adding wire to a crochet brim for structure
Materials and Tools
Below is what I used for this hat. You are welcome to swap the colours, as any combination works well.
- Yarn: Gray (or black) and orange yarn
- Hook: 3.0 mm
- Scissors
- Wire: for shaping the brim edge (a florist wire or millinery wire works well)
- Yarn needle for weaving in ends
Please note: The hook size and yarn weight produce a decorative display hat. If you want a wearable adult-sized hat, you may need to go up a hook size and use a heavier yarn weight.
Pattern Notes and Abbreviations
This pattern is written in US crochet terms.
| Abbreviation | Meaning |
|---|---|
| ch | chain |
| dc | double crochet |
| sc | single crochet |
| inc | increase (2 dc or 2 sc into the same stitch) |
| rev sc | reverse single crochet (crab stitch) |
| st(s) | stitch(es) |
| Row | a flat row, turned at the end |
| Rnd | a round, joined at the end |
Important notes:
- The cone (Parts 1 to 5) is worked in flat rows.
- The brim (Part 6) begins with dc increases and finishes with a wired sc edge and reverse sc.
- The decorative band (Part 7) is worked in orange as separate rings attached at intervals around the hat.
- Stitch counts shown at the end of each row are the total stitches for that row.
The Written Pattern
Part 1: Cone Tip
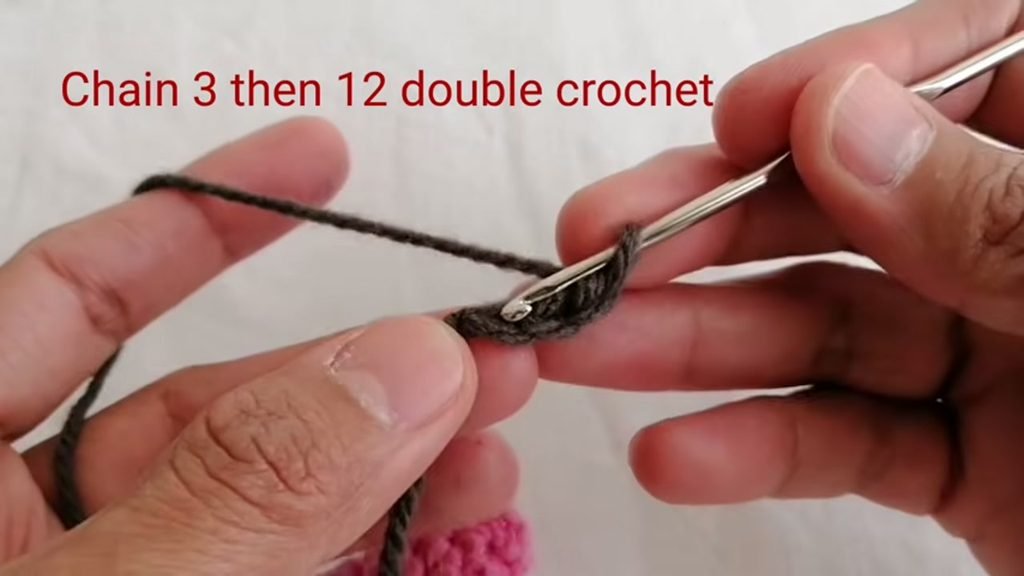
Ch 3.
Rows 1-15: Dc 12 across. Turn. (12 sts)
Work these 15 rows straight without any increases. This narrow section forms the very tip of the cone.
Part 2: Upper Cone
Row 1 (increase): Ch 2. *Inc 1, dc 1; repeat from * across. Turn. (18 sts)
Rows 2-14: Dc 18 across. Turn. (18 sts)
Part 3: Mid Cone
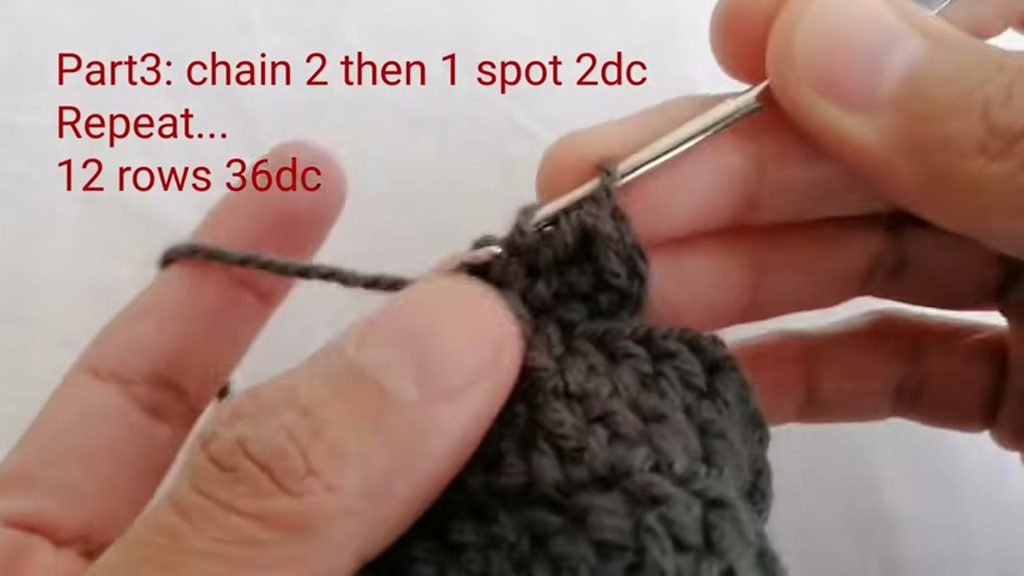
Row 1 (increase): Ch 2. Inc 1 into every stitch across. Turn. (36 sts)
Rows 2-11: Dc 36 across. Turn. (36 sts)
Part 4: Lower Cone (Increasing Rounds)
Work each row below by spacing increases evenly across the round.
Row 1: Ch 2. *Inc 1, dc 2; repeat from * across. Turn. (48 sts)
Row 2: Ch 2. *Inc 1, dc 3; repeat from * across. Turn. (60 sts)
Row 3: Ch 2. *Inc 1, dc 4; repeat from * across. Turn. (72 sts)
Row 4: Ch 2. *Inc 1, dc 5; repeat from * across. Turn. (84 sts)
Row 5: Ch 2. *Inc 1, dc 6; repeat from * across. Turn. (96 sts)
Part 5: Hat Body (Even Rounds)
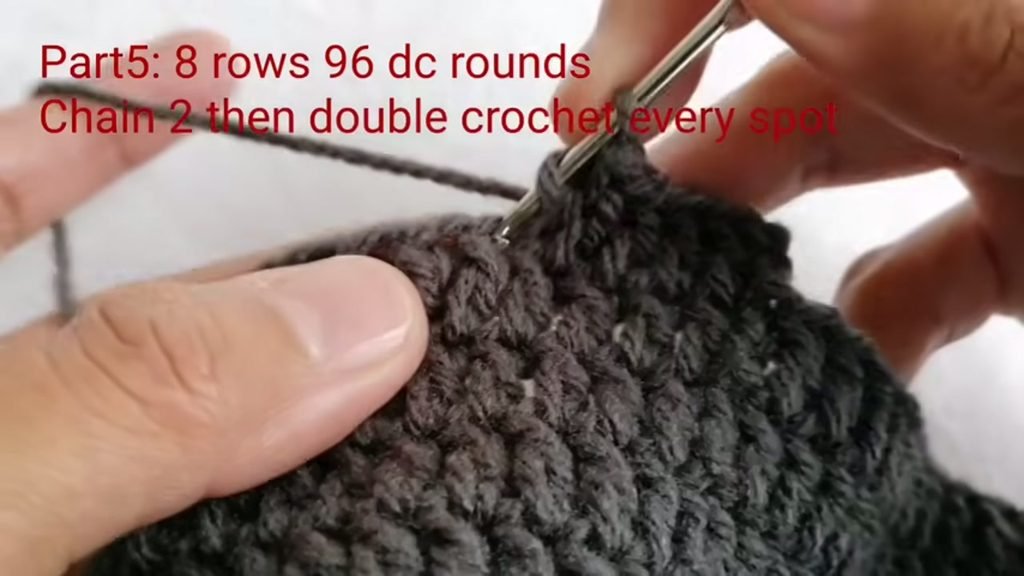
Rnds 1-8: Ch 2. Dc 1 into each stitch all the way around. Join. (96 sts)
Repeat for a total of 8 rounds without any increases. This is the straight cylindrical body of the hat.
Part 6: Brim
Work each row below by spacing increases evenly across the round.
Row 1: Ch 2. *Inc 1, dc 3; repeat from * across. Join. (120 sts)
Row 2: Ch 2. *Inc 1, dc 4; repeat from * across. Join. (144 sts)
Row 3: Ch 2. *Inc 1, dc 5; repeat from * across. Join. (168 sts)
Row 4: Ch 2. *Inc 1, dc 6; repeat from * across. Join. (192 sts)
Row 5: Ch 2. *Inc 1, dc 7; repeat from * across. Join. (216 sts)
Row 6: Ch 2. *Inc 1, dc 8; repeat from * across. Join. (240 sts)
Row 7: Ch 2. *Inc 1, dc 9; repeat from * across. Join. (264 sts)
Row 8 (Wire row): Place your wire along the edge. Sc 1 into each stitch all the way around, encasing the wire as you go. Join. (264 sts)
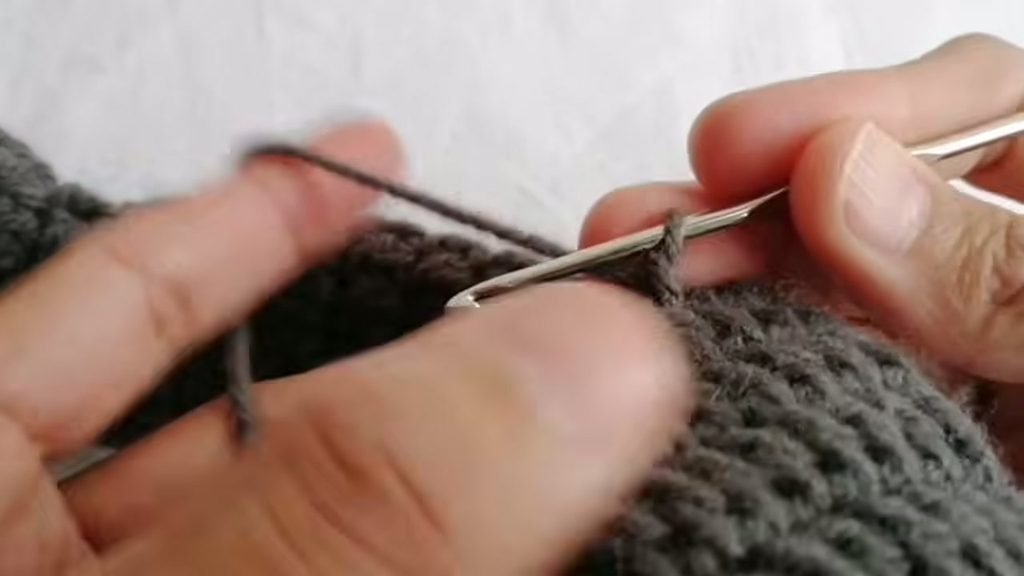
Row 9: Rev sc (crab stitch) 1 into each stitch all the way around. Join. (264 sts)
This reverse single crochet row gives the brim edge a neat, firm finish.
Part 7: Decorative Band (Orange)
Join your orange yarn to begin the decorative band around the hat. The band is worked as a series of joined rings at regular intervals, creating a layered ruffle effect.
Ring set 1 (7 rings):
Row 1: Sc 1 into each stitch around. Join.
Row 2: *Inc 1, sc 1; repeat from * around. Join.
Skip 3 rows along the hat body, then rejoin orange yarn to begin the next ring. Repeat the 2-row ring sequence for a total of 7 rings in this set.
Ring set 2 (4 rings):
Row 3: Sc 1 into each stitch around. Join.
Row 4: Sc 1 into each stitch around. Join.
Skip 3 rows along the hat body, then rejoin orange yarn to begin the next ring. Repeat for a total of 4 rings in this set.
Fasten off and weave in all yarn ends.
Video Tutorial
If you prefer to follow along visually, the full step-by-step video is right here. You can pause and rewind as many times as you need.
Tips and Common Mistakes
- I work the cone section in flat rows. Keep your tension even across every row so the cone does not twist when you assemble it.
- In Part 4 and Part 6 the increases are spaced evenly across the row, so count carefully to make sure each repeat lands in the right place before you begin that row.
- When adding the wire in Part 6 Row 8, lay the wire along the outer edge of the brim and crochet around it with sc. This locks the wire inside the stitches and keeps the brim from flopping.
- The reverse sc in Row 9 of the brim should be worked firmly. It gives the edge a braided, polished look.
- For the orange band in Part 7, I skip 3 rows between each ring. Count the rows carefully on your hat before rejoining the yarn so all the rings sit evenly.
Make More
- Crochet Pumpkin : https://crochetpattern.us/crochet-pumpkin-pattern/
- Crochet Dog Sweater : https://crochetpattern.us/crochet-dog-sweater-pattern-medium-full-tutorial/
FAQ
What size is this witch hat?
The finished size depends on your yarn weight and hook size. With a 3.0 mm hook and the yarn I used , the hat is a decorative display size. To make it wearable, try a 4.0 to 5.0 mm hook with Aran or chunky yarn and check the sizing against your head as you work Part 5.
Do I have to use wire in the brim?
The wire is what gives the brim its flat, structured shape. Without it, the brim will be soft and will not hold its form. Florist wire or millinery wire both work well, just make sure to bend and twist the ends so there are no sharp points poking through the yarn.
Can I use a different colour instead of orange?
Yes. The orange is only used for the decorative band in Part 7. You can use any contrast colour you like, and purple, green and gold all work beautifully for a Halloween theme.
What is reverse single crochet and why is it used here?
Reverse single crochet, also called crab stitch, is worked in the opposite direction to normal, from left to right instead of right to left. It creates a twisted, rope-like edge that is firmer and neater than a plain sc edging, which is why I use it to finish the brim.
I would love to see your finished witch hat, so please share it in the comments below or tag me in your photos. Happy crocheting, Meryem.