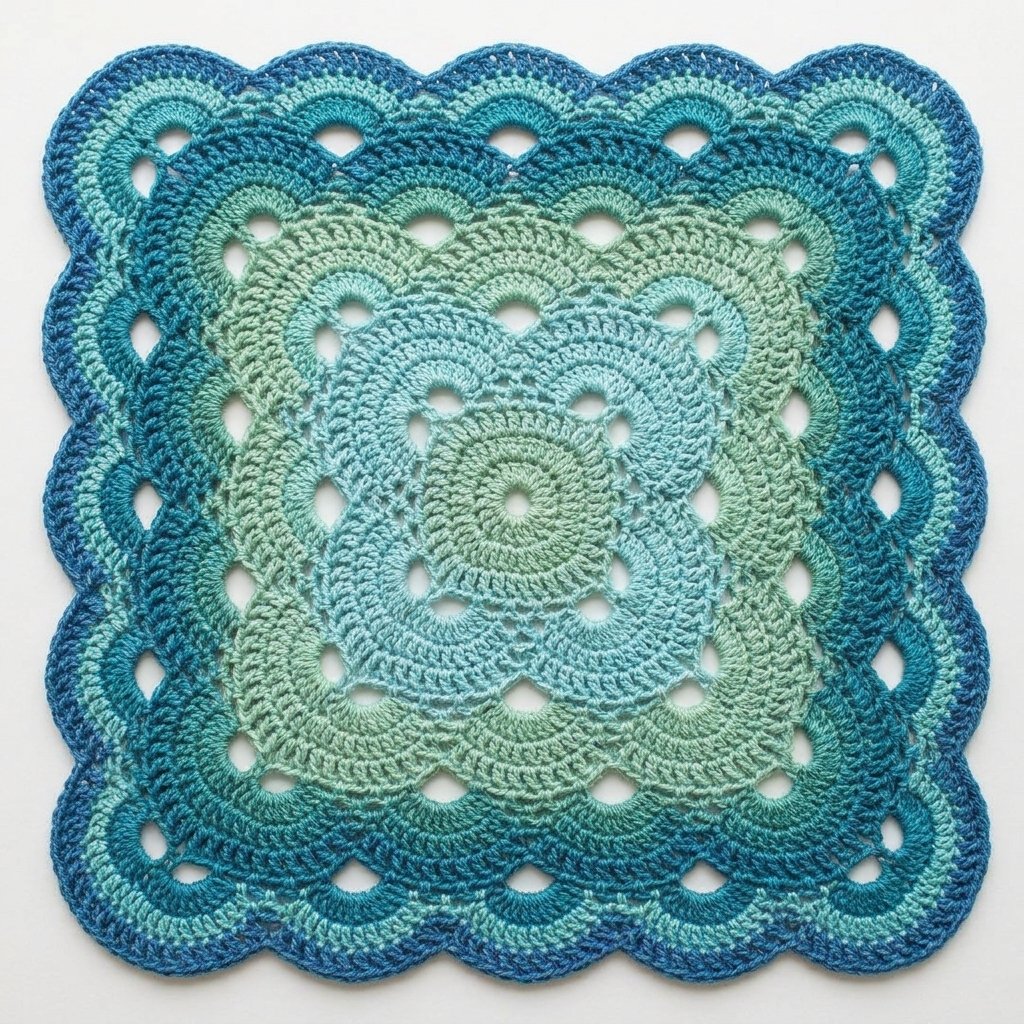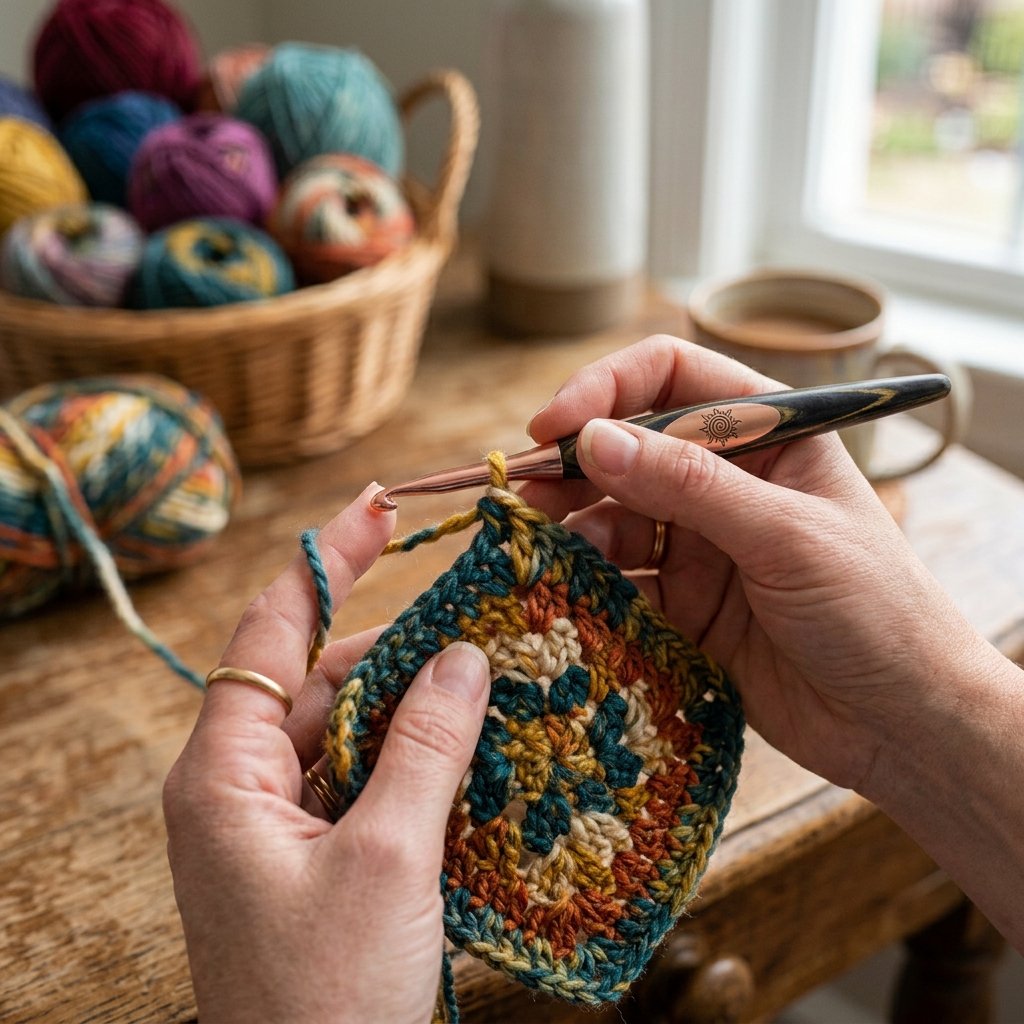
Discover one of our favorite crochet newborn blanket patterns , a soft textured stitch paired with a delicate vintage-style shell border.

This soft, textured blanket is one of our favorite crochet newborn blanket patterns — it pairs a simple repeating stitch pattern with a delicate, vintage-style shell border. The main body builds up quickly once the first few rows are established, and the finished edging adds a beautiful decorative detail that makes this pattern a lovely choice for baby showers, nursery decor, or a handmade heirloom gift.
Materials
- DK / weight 3 yarn — the original sample uses Bernat Softee Baby in Soft Peach.
- 4.5 mm (US 7) crochet hook for the blanket body.
- 4 mm (G) crochet hook for the final border round.
- Tapestry needle for sewing in yarn ends.
Finished Measurements

This crochet newborn blanket pattern produces a finished piece measuring approximately:
- 36 inches wide
- 39 inches long, including the border
Before the border is added, the blanket body measures approximately 33 inches wide by 37 inches long.
Yarn Amount
The sample requires approximately 5½ skeins of Bernat Softee Baby. Each skein contains 362 yards.
Abbreviations
The pattern uses US crochet terminology.
- ch — chain
- sl st — slip stitch
- sc — single crochet
- dc — double crochet
- yo — yarn over
- sk — skip
- fpdc — front post double crochet
- RS — right side
Special Stitch Instructions
Front Post Double Crochet
Work a double crochet around the post of the indicated stitch from the front of the fabric rather than inserting the hook through the normal top loops.
V-Stitch
Work 1 dc, ch 1, 1 dc into the same chain space.
Single Crochet Two Together
Insert the hook into each of the two indicated spaces one at a time and pull up a loop from each. Yarn over and pull through all three loops on the hook.
Picot
Chain 3, then make a slip stitch into the third chain from the hook.
Shell
Work 3 dc, picot, 3 dc into the same ch-4 space.
Five-Double-Crochet Shell
Work 5 dc, picot, 5 dc into the same corner ch-4 space.
Gauge
Using the 4.5 mm hook, chain 43 and work the blanket stitch pattern.
The gauge should produce approximately:
5 pattern repeats × 10 rows = 4 inches
For an accurate finished size, make a gauge swatch before beginning the full blanket.
Crochet Newborn Blanket Pattern: Main Blanket
Foundation Chain
Chain 193.
If you want to change the width, the foundation chain can be adjusted using a multiple of 5 + 3.
Row 1
Beginning in the appropriate chain, establish the first group of double crochets and chain spaces:
- Work 2 dc into the fifth chain from the hook; the first three skipped chains count as one dc.
- Chain 1.
- Work 2 dc into the next chain.
- Continue the repeating section by skipping the next 3 chains, then working 2 dc in the following chain, ch 1, and 2 dc in the next chain.
- Repeat this sequence across the foundation chain.
- Near the end, skip the indicated chain and finish with 1 dc in the final chain.
This produces 38 shell repeats plus 2 dc.
Mark this side as the right side (RS) and turn your work.
Row 2
For the remainder of the blanket, this same row becomes the main repeating pattern.
- Chain 3; this functions as the first dc.
- Skip the next dc.
- Work 1 fpdc around the next dc.
- Make a V-stitch in the following ch-1 space.
- Work another fpdc around the next dc.
- Skip the next 2 dc.
- Repeat this sequence across the row.
At the end, skip the remaining dc and work 1 dc into the top of the beginning turning chain.
Turn.
Important edge detail: From this point onward, place the final stitch into the top of the beginning ch-2 area rather than the beginning ch-3. This helps maintain straighter side edges.
Continue repeating Row 2.
The completed body should reach approximately 37 inches in length, and you should finish on the marked right side. Do not cut the yarn because the border will be worked directly from the blanket body.
Crochet Newborn Blanket Pattern : Border
The long sides should already be relatively straight. The foundation-chain edge and final row may spread slightly, so the first border round is designed to even out those areas.
The 4 mm hook is reserved for the final border round.
Border Round 1
Chain 1 at the corner and rotate the blanket so you can work along the first side.
Distribute single crochet stitches evenly down the edge until you reach the next corner.
At the corner, make 3 sc.
Continue along the foundation-chain side using the spaces between the stitch groups. Work the single crochets according to the established repeat, using sc2tog where indicated to control the width and prevent the edge from becoming wavy.
When the next corner is reached, make 3 sc.
Turn the work and continue along the opposite long edge.
Work the single crochet stitches evenly through the stitch groups, skipping the specified stitches so that the spacing follows the blanket pattern.
At the final corner, work 2 sc.
Join with a slip stitch to the first single crochet of the round.
Do not turn and do not fasten off.
Border Round 2
The purpose of this round is to create the chain-loop framework used for the decorative edging.
- Chain 5; this counts as 1 sc plus a ch-4 loop.
- Skip 2 stitches.
- Make 1 sc in the next stitch.
- Continue around the blanket by working ch 4, skip 2 stitches, 1 sc in the next stitch.
The corners require special spacing so the chain loops finish directly at the corners instead of bending around them.
When approaching a corner
If one stitch remains before the corner:
Undo the last two loops and restructure that section by making a ch-4 over the required stitches, followed by the necessary sc placements so the final loop terminates at the corner.
If two stitches remain:
Work ch 4, skip those 2 stitches, and place the next sc directly in the corner.
If three stitches remain:
Work ch 4, skip the 3 stitches, and place the sc in the corner.
Continue around all four sides, choosing the appropriate corner adjustment whenever necessary.
At the end, make ch 4 and join with a slip stitch to the first chain of the opening ch-5 loop.
Do not turn.
Border Round 3
Slip stitch across the first two chains of the nearest loop so the hook is positioned in its center.
Work 1 sc into the ch-4 space.
Then repeat around the blanket:
ch 4, sc in the next ch-4 space.
Continue this chain-and-single-crochet sequence around all four sides.
At the end, make the final ch-4 and join with a slip stitch to the sc at the base of the first loop.
Do not turn.
Corner adjustment
Each corner needs a five-double-crochet shell to maintain the symmetry of the border.
The corner shell is:
5 dc, picot, 5 dc
all worked into the corner ch-4 space.
If a corner needs additional room to lie flat, the number of double crochets on one or both sides of the picot can be increased slightly. The important goal is to keep the corner flat rather than allowing it to pull or curl.
Border Round 4
Switch to the smaller 4 mm hook.
Slip stitch into the first two chains of the loop to reach its center, then work 1 sc into the ch-4 space.
Work the decorative shells around the blanket:
1 sc in the next ch-4 space, shell in the following ch-4 space.
Continue this alternating sequence toward the next corner.
When you reach a corner, use the appropriate adjustment depending on whether one loop or no loop remains before the corner.
If one loop remains
After completing the preceding shell:
- Work 1 sc into the next ch-4 space.
- Work a five-dc shell into the corner space.
If no loop remains
After the previous shell:
- Work the sc into the same ch-4 space used for that final shell.
- Then work the five-dc shell directly into the corner space.
Continue the sc-and-shell sequence around the blanket, making the same corner adjustments whenever needed.
After completing the final corner shell, join with a slip stitch to the first sc.
Fasten off.
Finishing Your Crochet Newborn Blanket Pattern
Use the tapestry needle to carefully weave all remaining yarn tails into the back of the blanket.
Once the ends are secured, this crochet newborn blanket pattern is complete and ready to gift, display in the nursery, or add to your pattern collection.