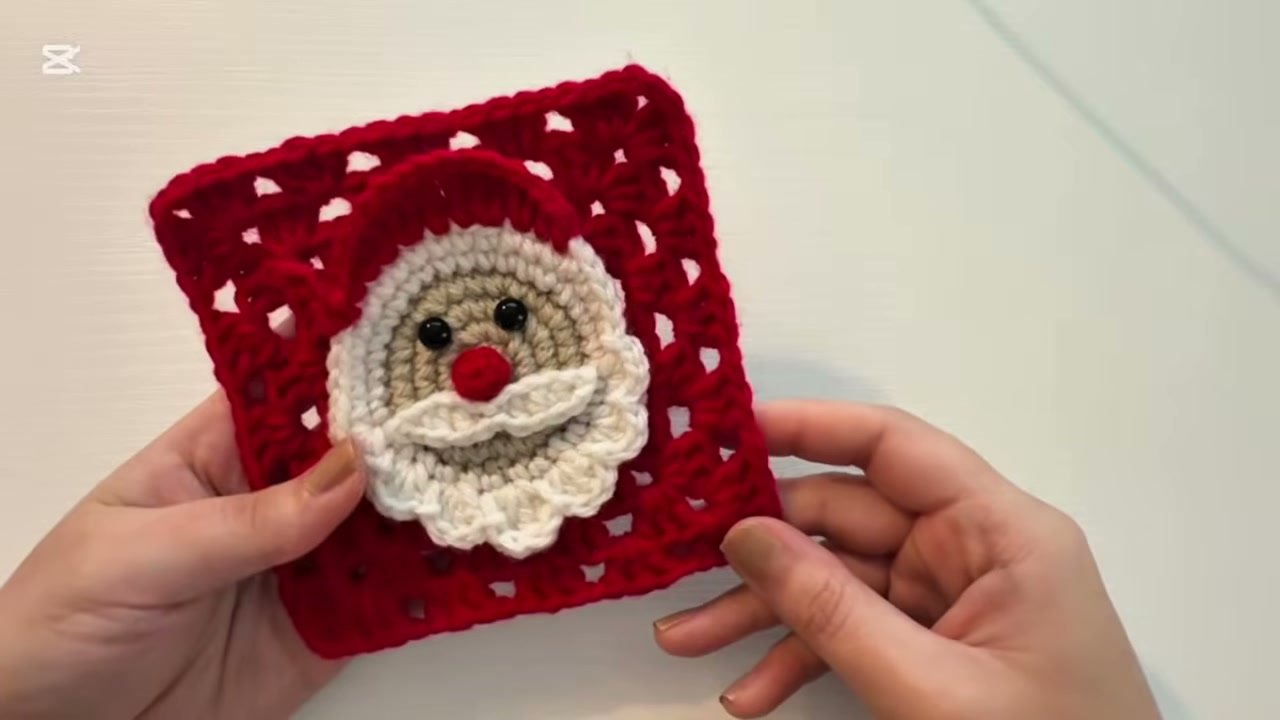
Nothing captures the charm of handmade holiday crafting quite like a cheerful Christmas character brought to life with yarn. This Santa granny square combines a friendly, three-dimensional face with a classic solid red frame, making it the perfect festive motif for holiday blankets, seasonal throw pillows, wall hangings, and handcrafted gift bags. By working Santa’s beard and hat in front loops and anchoring the granny square to the exposed back loops, the face pops forward with delightful depth. Below you will find the complete written pattern, step-by-step instructions, assembly guide, and video tutorial.
Although this design looks impressively detailed, the construction breaks down into very manageable parts that any confident beginner can master. You will crochet a smooth circular face base, build the graduated scalloped beard, shape Santa’s classic pointed stocking cap, and then square off the motif using traditional granny clusters. Pick up your hook, gather your festive yarns, and let us bring this merry little Santa square to life together.
Table of Contents
What Will I Learn?
Following this holiday tutorial step by step will guide you through several creative crochet techniques:
- Crocheting a smooth, flat amigurumi-style circular face using single crochet increases
- Working in Front Loops Only (FLO) to preserve back loops for later structural rounds
- Shaping a curved, graduated beard using progressive stitch heights from single crochet to treble crochet
- Building Santa’s pointed hat with a playful folded tip directly onto the face edge
- Converting a round appliqué motif into a tidy square by picking up hidden back loops
- Crocheting miniature facial appliques including a sculpted mustache and spherical button nose
Materials and Tools
Here is the exact list of supplies I used to create this festive granny square:
- Yarn: DK or 4-ply light worsted acrylic yarn in four coordinating shades:
- Red: For the pointed hat and the outer granny square frame (approx 25 g).
- Beige or Light Peach: For Santa’s face circle (approx 10 g).
- White: For the hat brim, layered scalloped beard, mustache, and pom-pom (approx 15 g).
- Pink or Red scrap: A small length of yarn for the round nose button.
- Crochet Hook: 3.0 mm crochet hook (US size C-2 or D-3), or whatever size produces dense, neat stitches with your chosen yarn.
- Eyes: Two small black plastic safety eyes or round beads (approx 6 mm to 8 mm), or black embroidery thread if you prefer stitched eyes.
- Stitch Marker: A stitch marker or scrap piece of contrasting yarn to mark the start of your hat brim.
- Tapestry Needle: For weaving in yarn ends.
- Scissors
- Hot Glue Gun: Or fabric craft glue (optional; you can sew the appliques in place with yarn if you prefer).
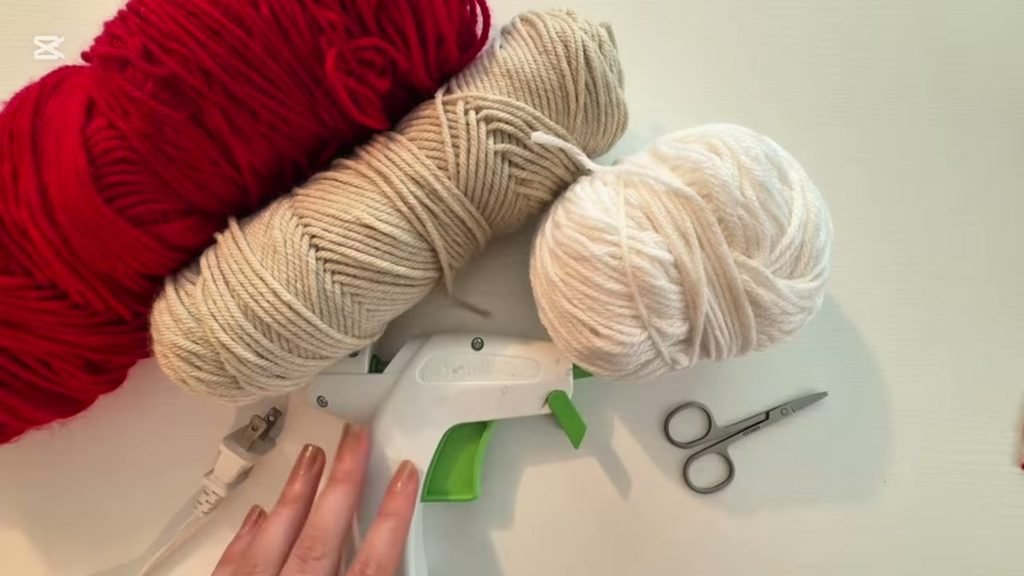
Please note on yarn selection: Acrylic yarn provides crisp stitch definition that helps Santa’s scalloped beard hold its ruffled shape without curling. If you are creating a heirloom baby blanket, a soft cotton-bamboo blend or anti-pilling baby acrylic is also a wonderful choice.
Finished Size and Gauge
- Finished Motif Size: With a 3.0 mm hook and DK yarn, the completed 4-round granny square measures approximately 5 inches by 5 inches (12.5 cm x 12.5 cm).
- Larger Square Option: If you prefer a 6-inch (15 cm) square for larger afghan projects, simply add one additional standard granny cluster round to the outer border.
- Gauge: Exact gauge is not critical for this decorative square. The face circle should lie flat without cupping; if your circle cups inward, loosen your tension or move up to a 3.5 mm hook.
Pattern Notes and Abbreviations
- Crochet Terms: Standard US crochet terminology.
- Turning Chain: At the start of single crochet rounds, chain 1 does not count as a stitch. At the start of double crochet granny rounds, chain 3 counts as the first double crochet.
- Two-Layer Construction: Round 5 of the face is worked exclusively into the front loops of Round 4. The exposed back loops remain on the reverse side of the work, where the red granny square frame will be joined in Part 4.
- Attaching Features: Santa’s mustache, nose, and eyes can be glued securely with hot glue for display items, or sewn down with yarn tails if the finished project is destined for a baby blanket or washable throw pillow.
Abbreviations
- ch: chain
- sc: single crochet
- hdc: half double crochet
- dc: double crochet
- tr: treble (triple) crochet
- sl st: slip stitch
- st(s): stitch(es)
- sp: space
- FLO: front loops only
- BLO: back loops only
- MR: magic ring
Special Techniques
Front Loop Only (FLO)
When looking at the top edge of a crochet stitch, you will see a small V made of two parallel strands. The loop closest to you as you work is the front loop. Inserting your hook under only this front strand leaves the back strand untouched on the reverse side, ready to receive the granny square frame later.
Graduated Beard Scallops
Santa’s full beard gets its wavy texture through clusters of 4 stitches worked into single anchor points, separated by grounding slip stitches. The stitch heights increase gradually from single crochet near the cheeks, to half double crochet, double crochet, and finally tall treble crochets at the very center point of the beard.
The Written Pattern
Part 1: Santa’s Face Circle (Beige Yarn)
- Round 1: Into a magic ring, work 8 sc. Pull the ring tail firmly closed and join with a sl st to the first sc. (8 sts)
- Round 2: Ch 1 (does not count as a stitch here and throughout), work 2 sc in each stitch around. Join with a sl st to the first sc. (16 sts)
- Round 3: Ch 1, *1 sc in the same stitch, 2 sc in the next stitch*; repeat from * around to the end of the round. Join with a sl st to the first sc. (24 sts)
- Round 4: Ch 1, *1 sc in the first stitch, 1 sc in the next stitch, 2 sc in the following stitch*; repeat from * around. Join with a sl st to the first sc. (32 sts)
- Ch 1, fasten off beige yarn, and weave in your starting ring tail.
Part 2: Hat Trim and Scalloped Beard (White Yarn)
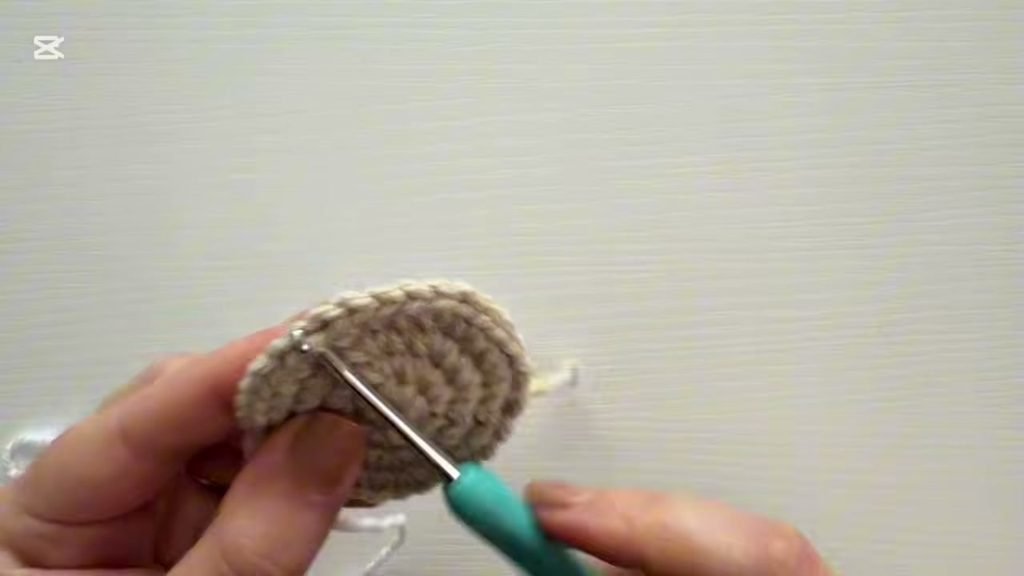
- Round 5 (Front Loops Only): Join White yarn with a slip stitch into the front loop only of any stitch around the perimeter of Round 4. Ch 1, work 1 sc in the front loop of each stitch around. Join with a sl st to the first sc. (32 sts)
- Round 6 (Beard & Hat Base):
- Ch 1, work 1 sc in the same stitch. Place a stitch marker in this first stitch to mark your hat anchor point.
- Work 1 sc in each of the next 14 stitches. (You now have 15 sc across the top of the head for Santa’s hat).
- Now work the textured beard scallops across the remaining 17 stitches:
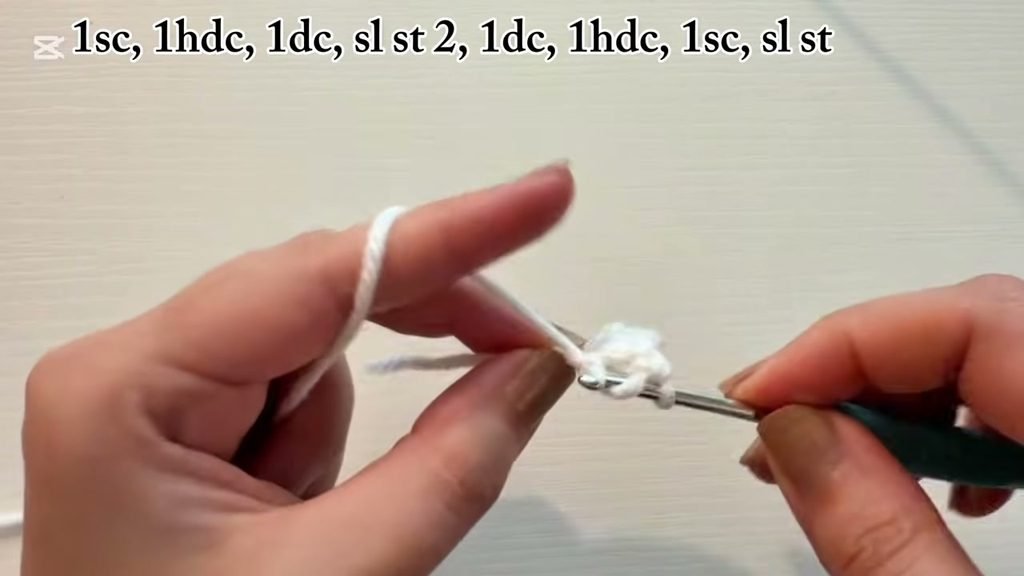
- Work 4 sc into the next stitch, sl st into the following stitch.
- Work 4 hdc into the next stitch, sl st into the following stitch.
- Work 4 dc into the next stitch, sl st into the following stitch.
- Work 4 tr into the next stitch (this forms the long central tip of the beard), sl st into the following stitch.
- Work 4 dc into the next stitch, sl st into the following stitch.
- Work 4 hdc into the next stitch, sl st into the following stitch.
- Work 4 sc into the next stitch, sl st into the following stitch.
- Work 1 sc into each of the final 4 remaining stitches along the cheek.
- Join with a sl st to the first marked sc. Ch 1, fasten off White yarn, and weave in the end.
Part 3: Red Pointed Santa Hat (Red Yarn)
- Hat Base Row: Join Red yarn with a slip stitch directly into the marked first stitch from Round 6 (at the right edge of the 15 plain single crochets).
- In the same stitch: work 1 sc.
- In next stitch: work 1 hdc.
- In next stitch: work 2 dc.
- In next stitch: work 2 tr.
- In next stitch: work 1 tr.
- Ch 1 (forming the central crown dip).
- In next stitch: work 1 tr.
- In next stitch: work 2 tr.
- In next stitch: work 2 dc.
- In next stitch: work 1 hdc.
- In next stitch: work 1 sc.
- Sl st into the next stitch along the white brim.
- Folded Hat Tip:
- Without cutting yarn, chain 4.
- Sl st in the 2nd chain from your hook, and sl st in each of the remaining 2 chains (3 sl sts worked along the chain).
- Sl st back into the same anchor stitch on the hat edge where the chain started.
- Ch 1, fasten off Red yarn, leaving a short tail to tuck away.
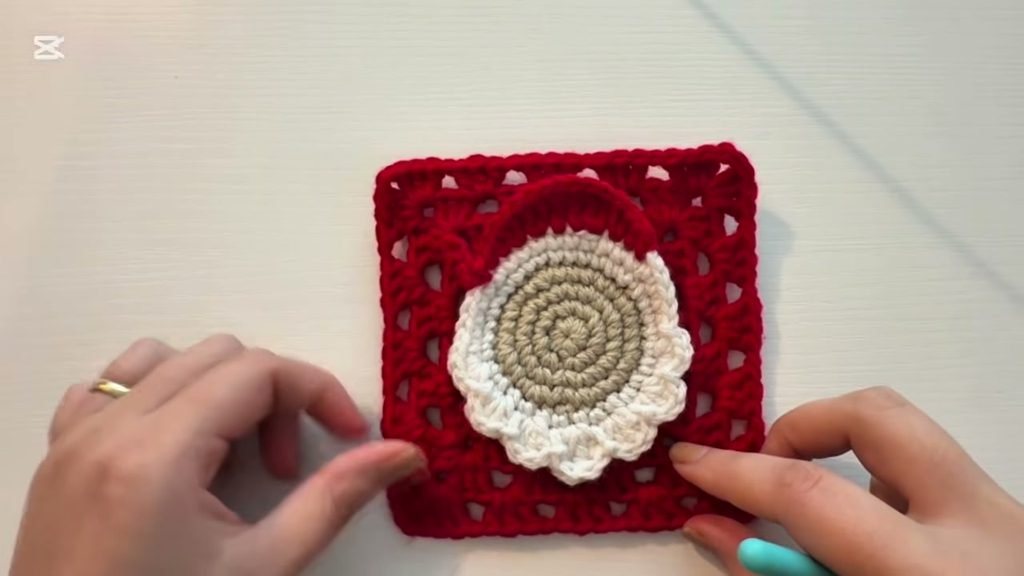
Part 4: Granny Square Outer Frame (Red Yarn)
(This section is worked entirely on the reverse side of the motif into the unused 32 back loops left behind from Round 4).
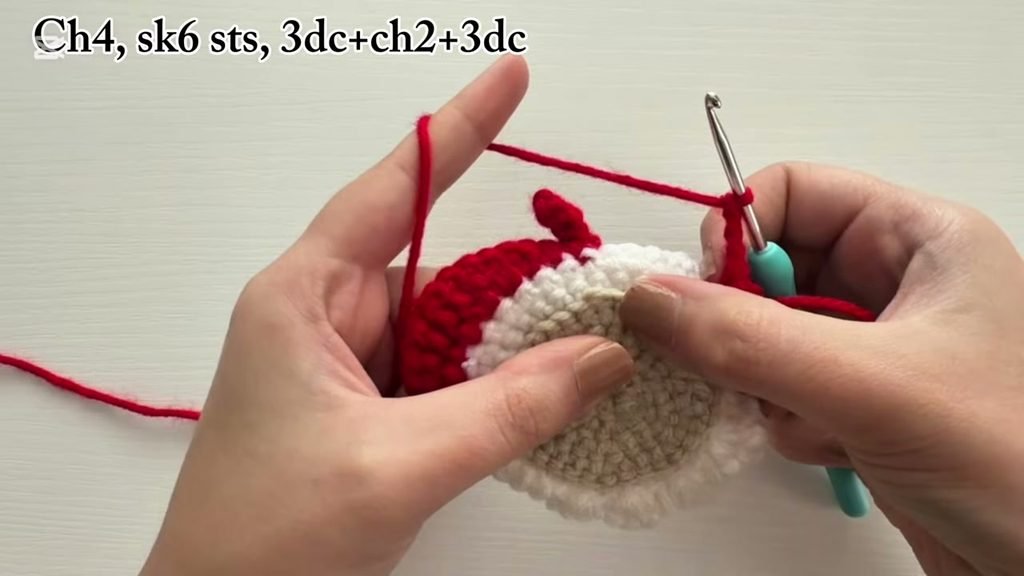
- Finding Your Starting Loop: Flip Santa’s face face-down. Locate the stitch directly behind the center 4-treble scallop of the beard. From that center loop, count back 2 stitches to the right. Join Red yarn with a slip stitch into the back loop of the 3rd stitch.
- Round 1 (Corner Setup):
- Ch 3 (counts as your first dc), work 2 dc into the same back loop, ch 2, work 3 dc into the very next back loop. (First Corner created).
- Ch 4, skip the next 6 back loops.
- Work [3 dc in next back loop, ch 2, 3 dc in following back loop]. (Second Corner created).
- Ch 4, skip the next 6 back loops.
- Work [3 dc in next back loop, ch 2, 3 dc in following back loop]. (Third Corner created).
- Ch 4, skip the next 6 back loops.
- Work [3 dc in next back loop, ch 2, 3 dc in following back loop]. (Fourth Corner created).
- Ch 4, skip the remaining 6 back loops.
- Join with a sl st to the top of your beginning ch-3.
- Round 2 (First Classic Granny Round):
- Sl st across the next 2 dc stitches and into the corner ch-2 space.
- Ch 3 (counts as dc), work [2 dc, ch 2, 3 dc] into the same corner space.
- Ch 1, work 3 dc into the ch-4 side space, ch 1.
- *Work [3 dc, ch 2, 3 dc] in the next corner space, ch 1, work 3 dc in the ch-4 side space, ch 1*; repeat from * two more times around.
- Join with a sl st to the top of the beginning ch-3.
- Round 3:
- Sl st across to the corner ch-2 space.
- Ch 3, work [2 dc, ch 2, 3 dc] in the same corner space.
- Ch 1, work 3 dc in the first ch-1 space, ch 1, work 3 dc in the next ch-1 space, ch 1.
- *Work [3 dc, ch 2, 3 dc] in the corner space, ch 1, [3 dc in next ch-1 sp, ch 1] across to next corner*; repeat from * around.
- Join with a sl st to the top of the ch-3.
- Round 4:
- Sl st across to the corner space.
- Ch 3, work [2 dc, ch 2, 3 dc] in the same corner space.
- *[Ch 1, 3 dc] in each of the 3 side ch-1 spaces across the edge, ch 1, work [3 dc, ch 2, 3 dc] in the corner space*; repeat from * around to the end of the round.
- Join with a sl st to the top of the ch-3.
- Ch 1, fasten off Red yarn, and weave in all loose tails neatly on the reverse side.
Part 5: Santa’s Mustache and Button Nose
- The Button Nose (Pink or Light Red Yarn):
- Into a magic ring, work 4 sc.
- Pull the ring tail firmly closed until the stitches bunch into a tiny spherical dome.
- Join with a sl st to the first sc. Fasten off, leaving a tail for attaching.
- The Sculpted Mustache (White Yarn):
- Chain 11.
- Sl st in the 2nd chain from your hook.
- In next ch: 1 sc.
- In next ch: 1 hdc.
- In next ch: 1 dc.
- Sl st in each of the next 2 chains (this pinches the center of the mustache between Santa’s cheeks).
- In next ch: 1 dc.
- In next ch: 1 hdc.
- In next ch: 1 sc.
- Sl st in the final chain.
- Ch 1, fasten off White yarn.
Assembling Santa’s Face
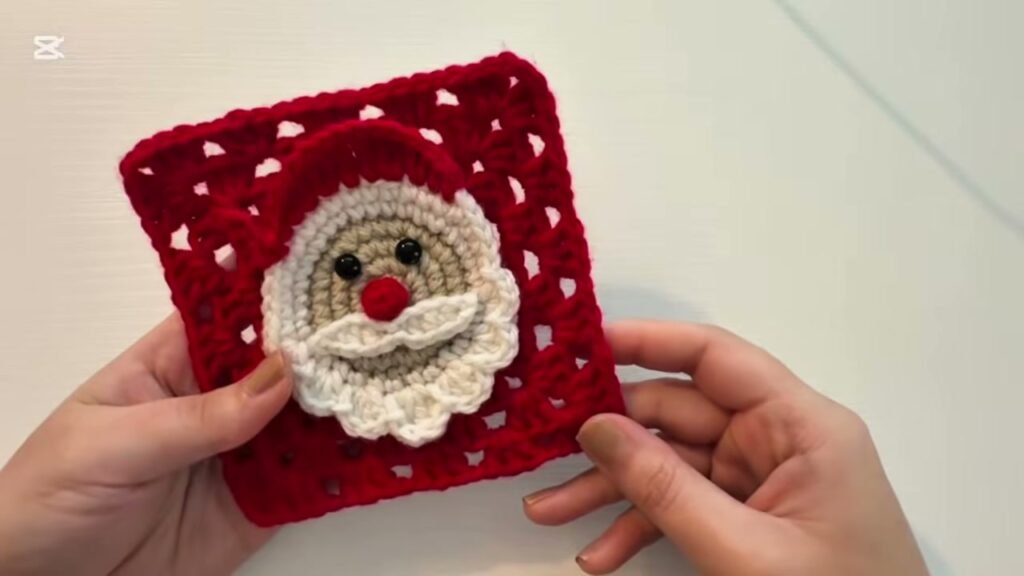
- Positioning the Mustache: Lay your square flat on your work surface. Position the white mustache right across the bottom half of the beige face circle, resting just above the scallops of the beard. Secure with a tiny drop of hot glue or stitch down through the center with white yarn.
- Attaching the Nose: Place the round pink button nose directly over the center dip of the mustache. Glue or sew firmly in place.
- Adding the Eyes: Attach two 6 mm black safety eyes or beads just above the mustache, spaced approximately 2 to 3 stitches apart on either side of the nose.
- Adding the Pom-Pom: Using a tiny tuft of white yarn, roll a miniature pom-pom (or crochet a tiny 4-sc bobble) and attach it to the folded tip of Santa’s red hat on the upper left side.
Holiday Project Ideas
Once you have mastered this Santa motif, you can assemble multiple squares into festive holiday creations:
- Christmas Afghan Blanket: Combine 16 or 25 Santa squares with alternating cream or forest green classic granny squares to create a festive holiday throw for your sofa.
- Festive Throw Pillow: Join 4 Santa squares together (2×2 grid) with a wide border to fit a standard 16-inch cushion form.
- Holiday Coasters and Mug Rugs: A single Santa square with a crisp white border makes an adorable coaster for mugs of hot chocolate.
- Handmade Gift Pouches: Seam two squares together on three sides, add a chain-stitch drawstring around the top, and fill with holiday sweets or small gifts.
Video Tutorial
If you prefer to follow along with every stitch, loop placement, and assembly step visually, watch the complete video tutorial below:
Tips and Common Mistakes
- Do Not Crochet Round 5 Too Tightly: When working Round 5 in Front Loops Only, maintain a relaxed tension. Working too tightly will pinch the front loops and make it harder to insert your hook into the hidden back loops on the reverse side.
- Double-Check Back Loop Spacing: In Round 1 of the granny frame, you skip exactly 6 back loops between each corner. Take a moment to count your loops around the circle before fastening off Round 1 to ensure your square has 4 perfectly symmetrical corners.
- Safety First for Children’s Toys: If this granny square is being incorporated into a baby blanket or children’s gift, skip the plastic beads and hot glue. Instead, embroider the eyes and nose securely using French knots in black and pink yarn.
- Block Your Squares: A quick steam blocking or wet blocking on a foam grid will crisp up the four corners of the red granny frame, ensuring all your holiday squares join together smoothly.
Make More
- Crochet easy dog sweater dress —-> https://crochetpattern.us/crochet-easy-dog-sweater-dress/
- Crochet Witch Hat Pattern — Full Tutorial —> https://crochetpattern.us/crochet-witch-hat-pattern-full-tutorial/
FAQ
Can I make the granny square frame in a different color?
Yes. While red gives a classic holiday look, framing Santa in forest green, snowy white, icy blue, or metallic gold yarn looks equally charming and lets the red hat stand out dramatically.
What if I cannot find plastic safety eyes?
You can easily substitute safety eyes with two small black buttons, or embroider two neat French knots using black embroidery floss or worsted yarn.
How do I join multiple Santa granny squares together?
The neatest methods for joining holiday squares are the invisible mattress stitch worked through the back loops, or a single crochet join on the right side using white yarn to create snowy raised borders.
Why is my face circle bulging forward?
The face circle is intentionally designed to sit slightly proud of the flat granny square frame, creating a lively 3D effect. If it puckers excessively, check that your Round 1 granny corners are placed into the correct back loops without pulling the circle out of shape.
I would love to see your holiday crochet makes, so please share your festive creations and questions in the comments below. Happy crocheting,
One thought on “Crochet Santa Granny Square”