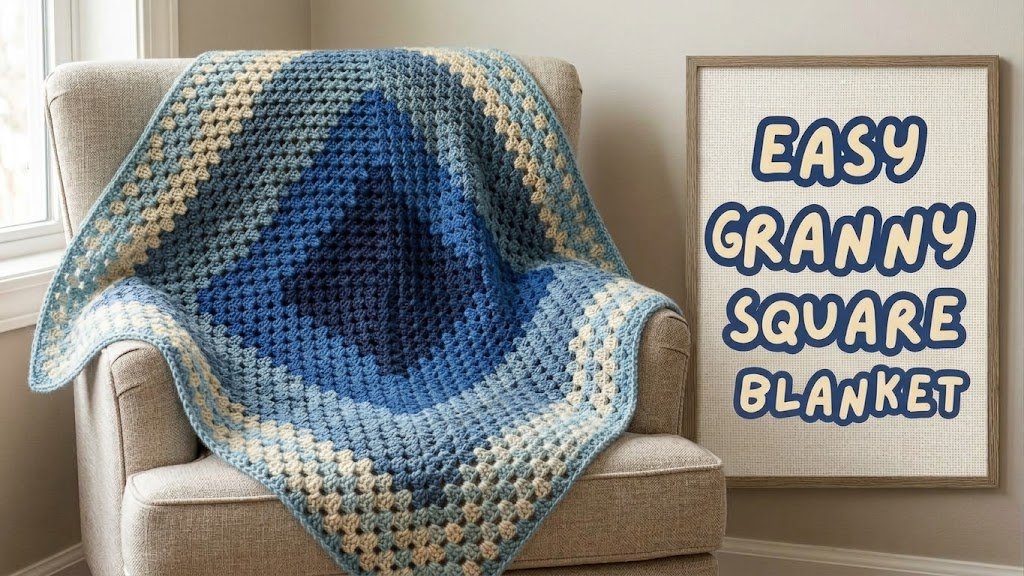
Learn how to crochet a granny square blanket with this easy beginner pattern. One big square, worsted yarn, and a 5.5 mm hook.
Today we’re going to learn how to crochet this super easy granny square blanket. It’s just made out of one super big granny square, and you can make it as large as you’d like. You can make a baby blanket or a California king, and it’s totally up to you. This is a beginner friendly project, and we’ll go over all of the stitches as we use them.
If you’ve never made a granny square before, this is a great place to start. Grab some yarn and give it a try.
What You’ll Need
All you need to get started is some worsted weight acrylic yarn. You can use as many or as few colors as you like, and there’s a section below on how to change colors as you work. You’ll also need a 5.5 mm hook and a pair of scissors, and then we’re ready to go.
The blanket in the sample is worked in an ombre yarn, so it never changes color.
How to Crochet a Granny Square Blanket
Making the Slip Knot
You can start with a classic magic ring if you prefer, but we’re going with a faux magic ring for all of our beginners.
To make a slip knot, wrap the yarn around two of your fingers and across. Pinch the yarn tail with your thumb so it doesn’t come undone. Then take the pointer finger of your other hand and put it under that first strand of yarn and over the second. Flip that second strand up and pull it tight.
Put your hook into the loop, then pull on the yarn tail to close the loop down around the hook. Now we’re ready to start making our chain.
Making the Chain and the Faux Magic Circle
To make a chain, all you have to do is grab the yarn and pull it right through the loop on the hook. For our faux magic circle, we start with four chains.
Next, connect the last and first chain with a slip stitch. Go into the first chain you made, grab the yarn, pull up a loop, and pull that right through the loop on your hook. Trim the yarn tail down just a little bit.
You’ll see you’ve made a little circle with your chain. That’s our faux magic ring, and all of our stitches in round one go right into the middle of it.
How to Make a Double Crochet
We’ll use this stitch all the way through, so here’s a quick refresher. Yarn over, go into the circle, yarn over, and pull up a loop so you have three loops on your hook. Yarn over and pull through the first two loops. Then yarn over and pull through the last two loops. And there’s your first double crochet.
Round 1
Chain three. That chain three counts as one double crochet. Next, make two double crochets into the circle.
Now chain two, and make three more double crochets into the circle. Chain two again, and make three more. You can scoot your stitches down a little bit if you need more room in the circle.
We’re going to call each set of three double crochets a double crochet cluster, so keep that in mind as we work. In this first round, we want to end with four double crochet clusters in total, separated by two chains. Chain two, and make your last three double crochets into the circle.
To end the round, chain two and slip stitch into the top of the chain three you made at the beginning of the round. Let’s find that third chain. Go right into it, yarn over, pull up a loop, and pull it through the loop on your hook.
That completes round one. Before moving on, find the yarn tail at the back and pull on it to close up that circle as much as you can.
Round 2
Before we can start any round, we always have to start in one of the chain two spaces. You can see there’s a little square with a chain two space at each corner. So we slip stitch over into the closest chain two space. Go into the next double crochet and make a slip stitch, then into the next double crochet and make another. Finally, go into the chain two space and make one more slip stitch.
Now chain three. This chain three will always count as a double crochet. Put two double crochets into that same chain two space, chain two, and make three more double crochets into that same space. This is the corner of our square.
Each time we work into a corner, we make three double crochets, chain two, and three more double crochets into that same space.
Skip over the double crochets in the middle and go right into the next chain two space. Make a corner there, then do the same in every chain two space. Finish the round with a slip stitch into the top of the chain three.
Round 3
Slip stitch over into the closest chain two space. Chain three, then make two more double crochets to complete the first set. Chain two and make three more double crochets into that same space. That’s our first corner.
Now you’ll see a new space in the middle. Skip over the double crochets and make one double crochet cluster into that space. The next space is a corner, so make your corner. Keep going around: one cluster in each middle space, and a corner in each chain two space. Finish with a slip stitch into the top of the chain three.
Round 4
Slip stitch over into the closest chain two space, then make your first corner. Now we have two spaces between each corner, so we only need to put one double crochet cluster into each of those spaces. We only put two clusters when we’re working into a corner.
Keep going around the same way, then finish the round with a slip stitch into the top of the chain three.
Round 5
Slip stitch over into the nearest chain two space and make your first corner. Now there are three spaces between each of our corners. We always work our corner the same way, and we always work our spaces between the corners the same way. So make one double crochet cluster into each of those three spaces, then your next corner.
Repeat that for the rest of the round, and end with a slip stitch into the top of the chain three.
Keep Going Until You Love the Size
From here, we keep repeating the same pattern until we’re happy with the size of our blanket. Always start the round by slip stitching over into the closest chain two space. Chain three and make your first corner. Make one double crochet cluster into each of the spaces between your corners, make your next corner, and finish the round with a slip stitch into the top of the chain three.
The only difference is that for every round you add, you’ll have one extra space between the corners. In the last round we had three spaces between our corners. Now we have four. In the next round we’d have five, then six, and so on.
You can make this as large or as small as you prefer. Take your time with it, and enjoy watching the square grow.
Changing Colors
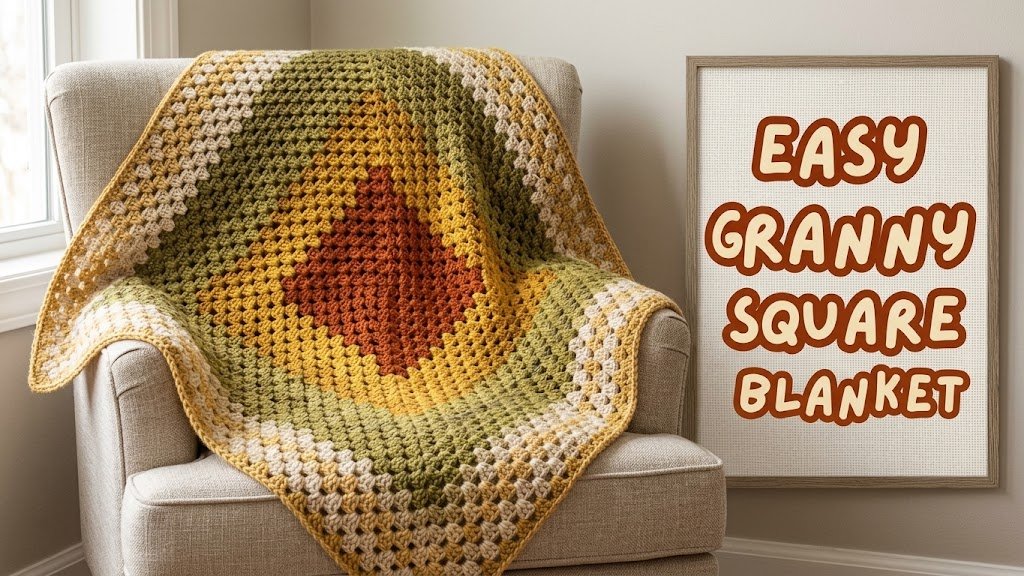
If you want to change yarn colors for any round, all you have to do is tie off when you make the slip stitch that ends the round. Then attach your new yarn color directly to a chain two space. It can be any of the chain two spaces, and you don’t have to slip stitch over. Just start the next round as normal.
Finishing Your Granny Square Blanket
Once you’re happy with the size of your blanket, it’s time to tie off. Chain one, cut the yarn, pull it right up through the chain you made, and pull it tight. Then weave in that yarn tail, and any other yarn tails on your blanket.
And you are all done. Your blanket is ready to use.
We’d love to see how yours turns out. Leave a comment below and tell us about your blanket, including the size and the colors you chose. If you share a photo, even better.
Video Tutorial
https://www.facebook.com/profile.php?id=61592761921213
Check more patterns —> https://crochetpattern.us