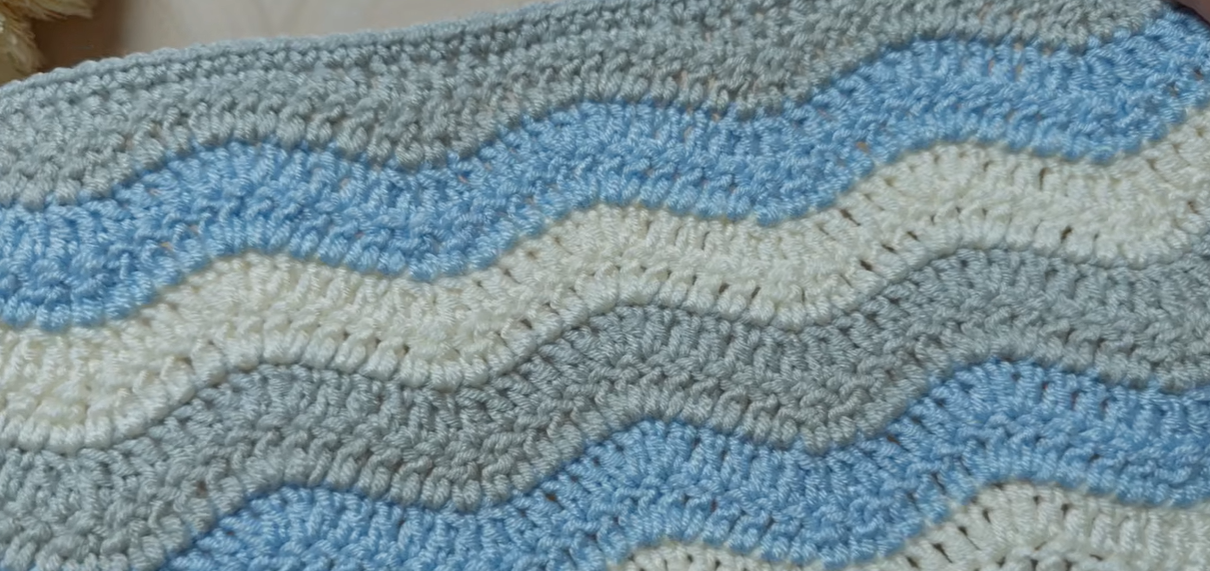
Learn this easy ripple crochet pattern with a simple 12-stitch repeat and a polished top border. Full written instructions included.
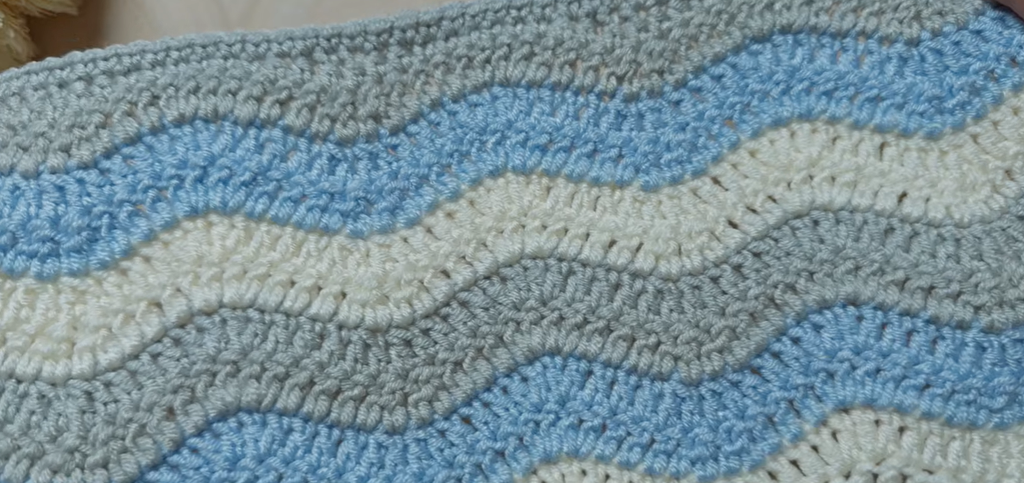
Ripple patterns look like they took real skill, but this one is built from a single 12-stitch repeat and a handful of basic stitches. Once you’ve worked the repeat a few times, the waves take shape almost on their own. The pattern is written out below, with a finishing border that gives the top edge a neat, tidy line.
What You’ll Need
- Hook: 4 mm crochet hook
- Yarn: at least two colors, in a weight that works with a 4 mm hook
- Notions: scissors and a yarn needle
Abbreviations (US Terms)
- ch: chain
- st(s): stitch(es)
- sc: single crochet
- hdc: half double crochet
- dc: double crochet
- dc2tog: double crochet two together. Yarn over, insert the hook in the next stitch, pull up a loop, yarn over and pull through two loops. Yarn over, insert the hook in the following stitch, pull up a loop, yarn over and pull through two loops. Yarn over and pull through all three loops on the hook.
Pattern Notes
- The pattern is worked over a multiple of 12 stitches, plus 1 chain for the foundation.
- The sample uses 25 chains, which gives two full repeats (24 stitches). For a wider piece, add 12 chains per extra repeat.
- The turning chain never counts as a stitch in this pattern.
- Every row keeps the same stitch count, so you can check your work at the end of each row.
The Pattern
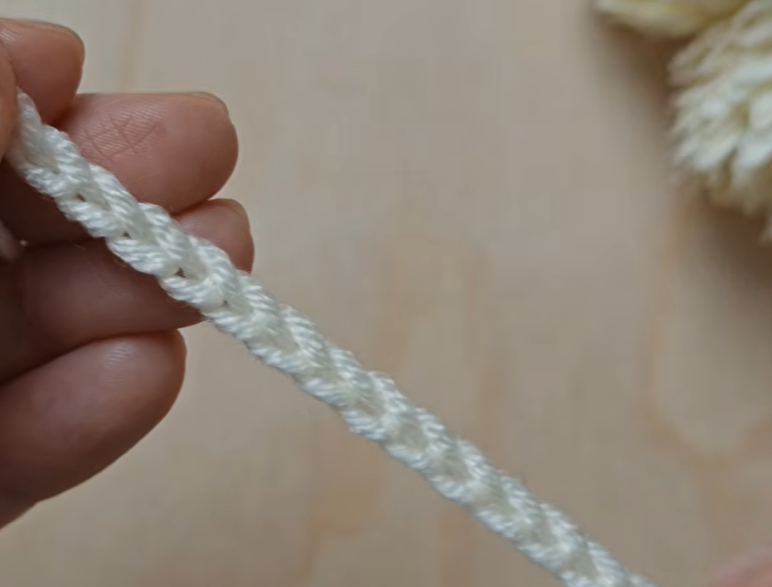
Foundation: Ch 25.
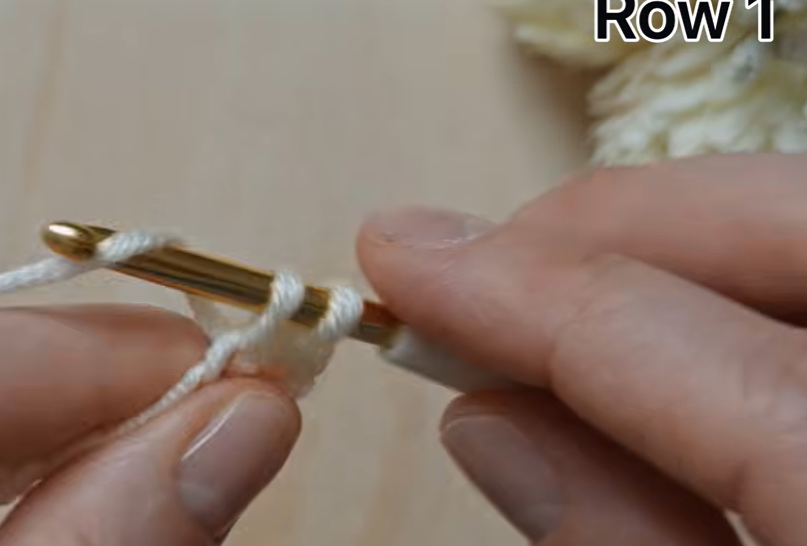
Row 1: Skip the first ch, then sc in the next ch and in each ch across. (24 sts)
Row 2: Ch 2 and turn. Dc in the next st, hdc in the next 2 sts, sc in the next 6 sts, hdc in the next 2 sts, dc in the next st. Repeat from * to * across. (24 sts)
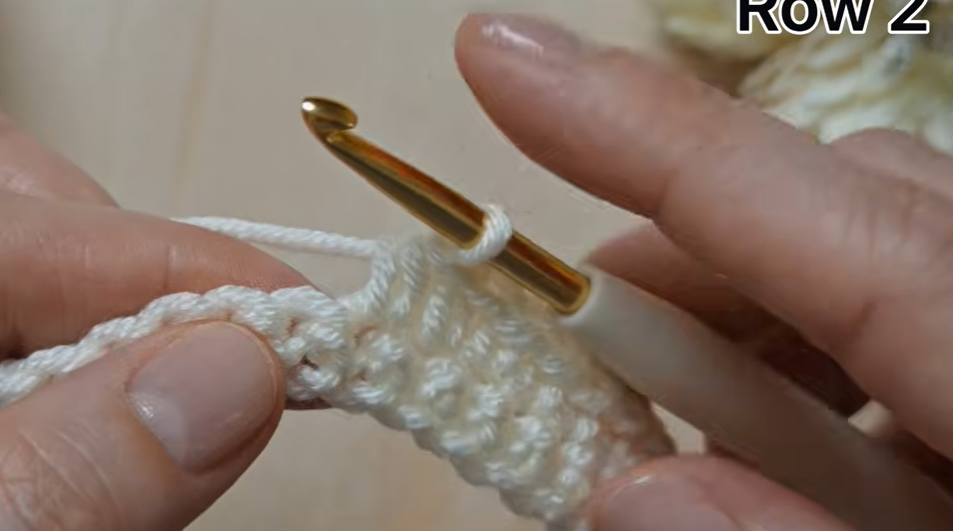
Row 3 (ripple row): Ch 2 and turn. Work 2 dc in the next st, dc in the next 3 sts, dc2tog over the next 2 sts, dc2tog over the next 2 sts, dc in the next 3 sts, 2 dc in the next st. Repeat from * to * across. (24 sts)
The two dc2tog stitches form the dip, and the pairs of dc on either side form the peak.
Changing Color
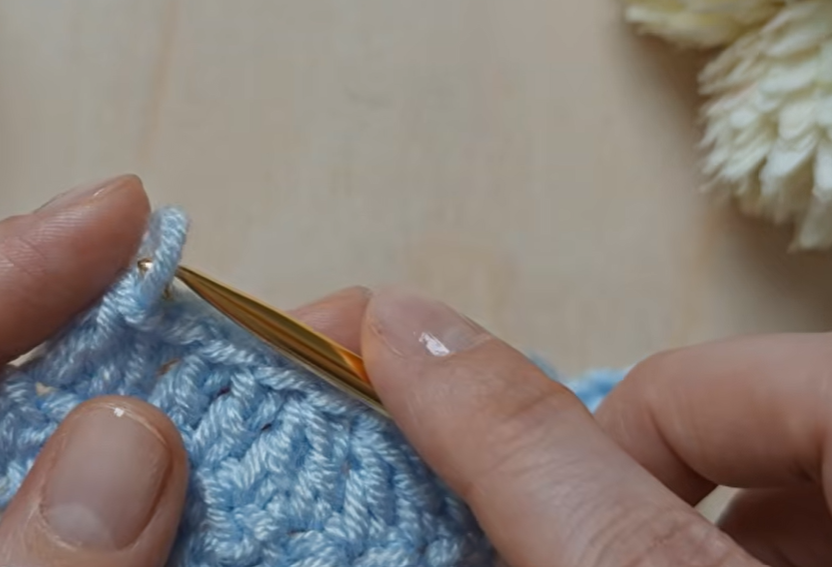
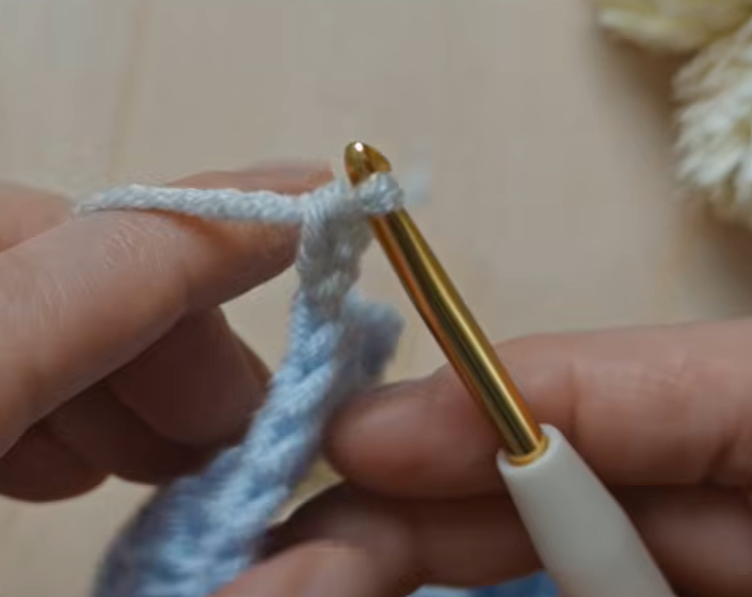
At the end of Row 3, bring in your new color before you finish the last stitch. Work the last dc until two loops remain on the hook, then complete it with the new color. Ch 1 to secure the new color, ch 2 and turn.
Repeating the Ripple
Repeat Row 3 for as long as you like, working two rows in each color before changing. Use the same color-change method at the end of every second row.
Finishing the Top Border
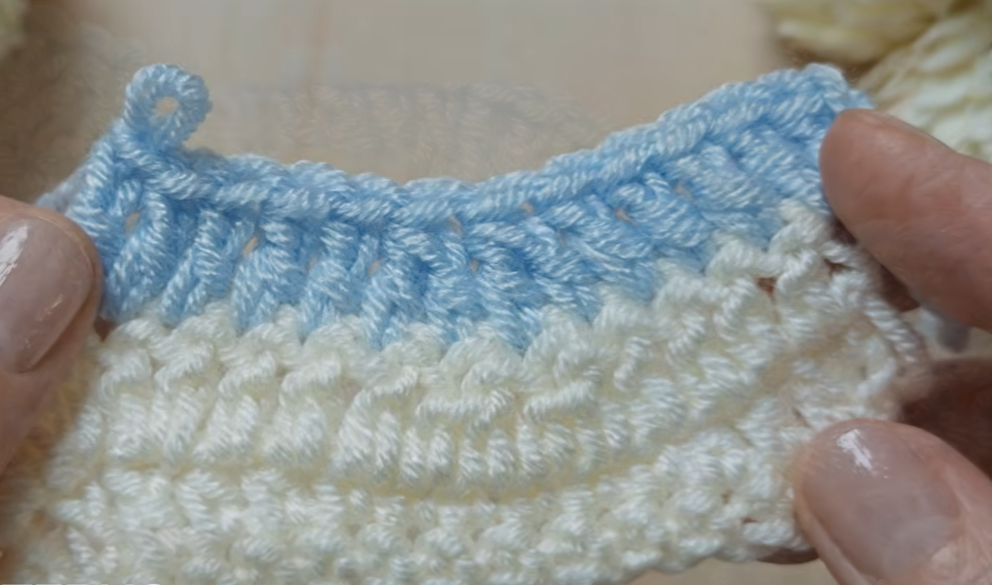
The border smooths out the ripple and leaves a clean top edge.
- Last ripple stripe: Work just one row of Row 3 in your final color.
- Smoothing row: Ch 1 and turn. Sc in the next 3 sts, hdc in the next 2 sts, dc in the next 2 sts, hdc in the next 2 sts, sc in the next 3 sts. Repeat from * to * across.
- Final row: This row is worked on the same side as the previous row, so don’t turn. Cut your yarn and rejoin it in the first stitch. Sc in the first stitch and in each stitch across.
Tip: As you work the final row, carry the yarn tails along the back of the stitches and crochet over them. That weaves them in as you go, which saves time at the end.
Make It Your Own
- Length: Keep repeating the ripple row until the piece is as long as you need.
- Stripes: Change colors every two rows, as in the sample, or change the stripe rhythm for a different look.
- Border: The last two rows are optional. If you prefer the raw ripple at the top, stop after the final ripple row.
Final Thoughts
Ripple designs are simple to make but striking to look at. The border is what sets this version apart, since it turns the zigzag edge into a clean, finished line. Give it a try, and share your color combinations with us in the comments.