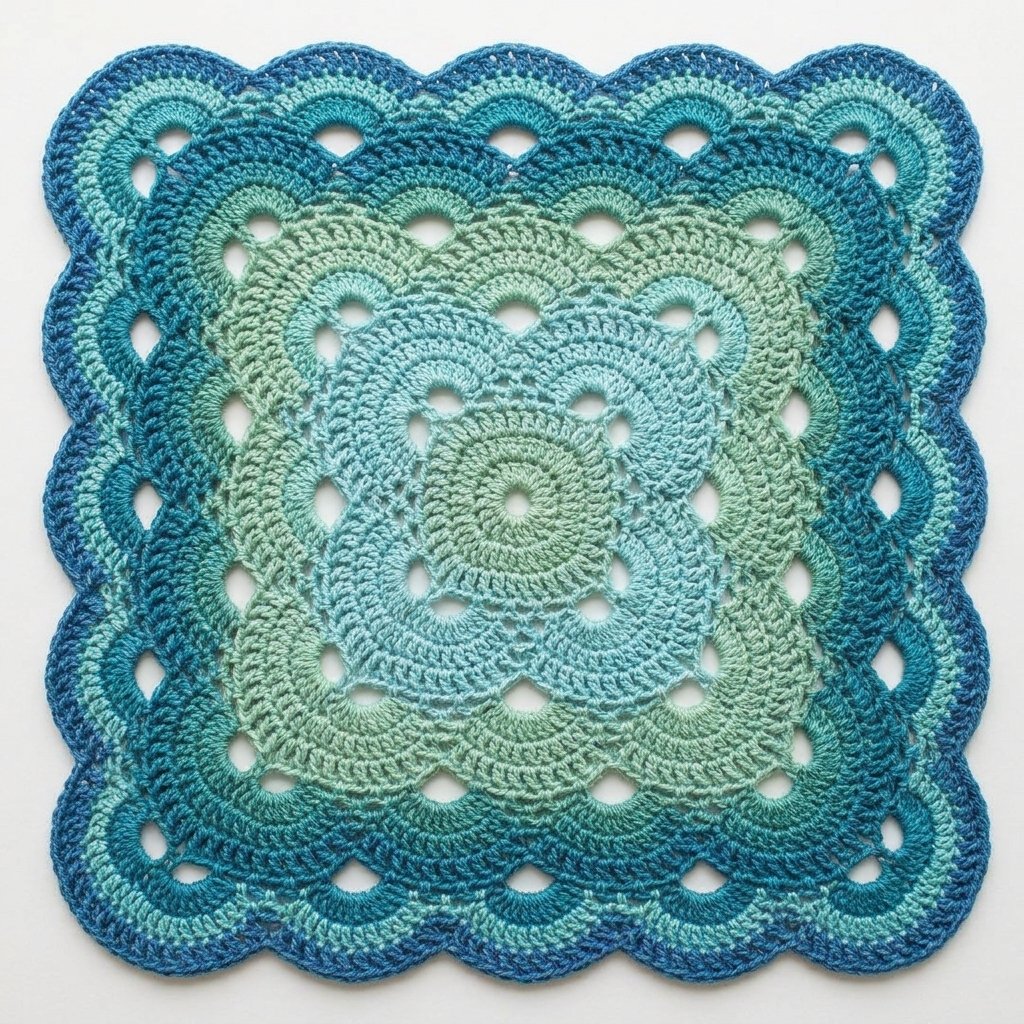
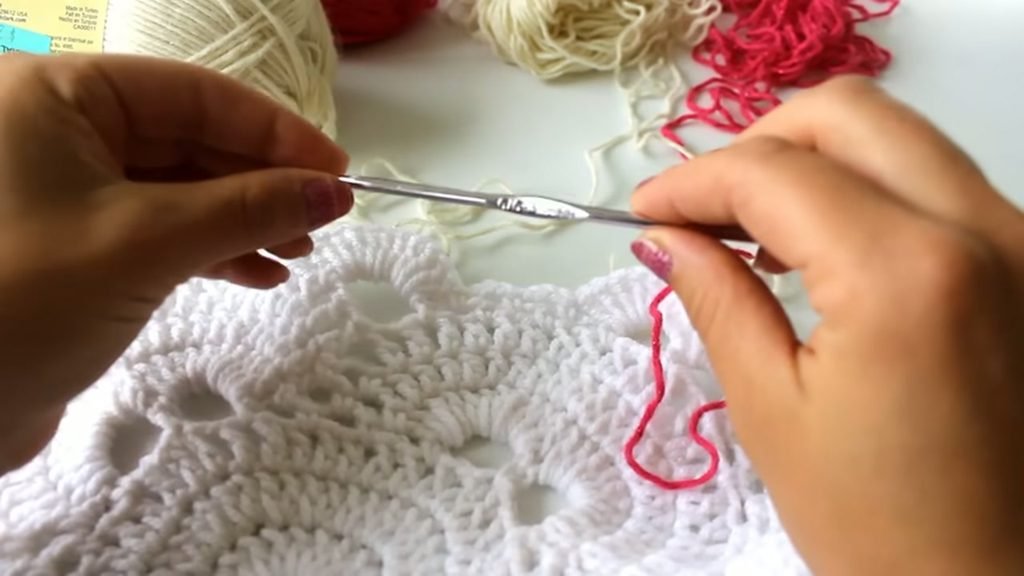
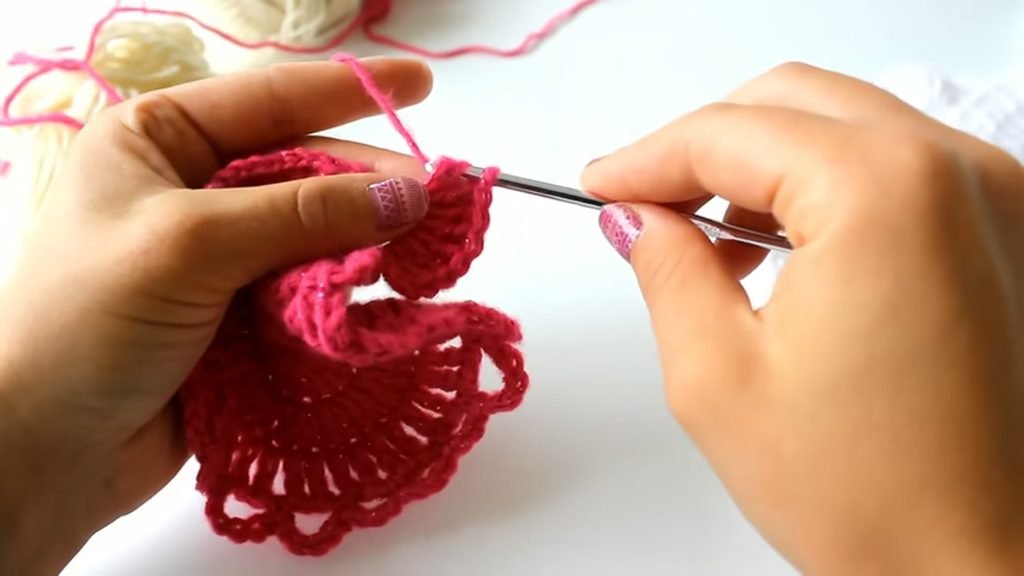
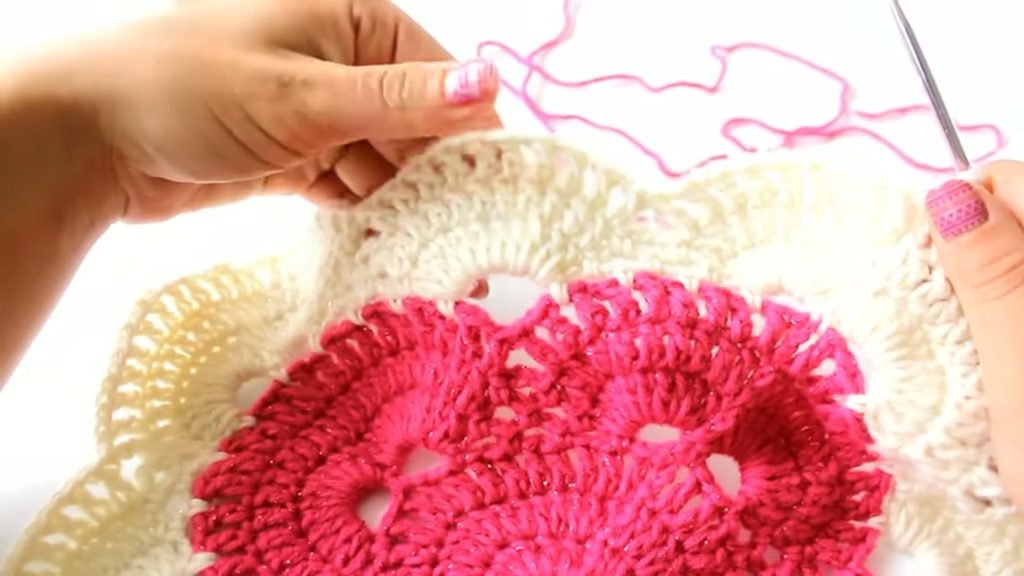
If you are looking for a blanket that is beautiful, meditative to make, and works up surprisingly quickly, this virus blanket is the one. In this tutorial I will show you how to crochet this lovely blanket from the very first ring all the way through the repeating pattern. It keeps you engaged with four repeating rows, so once you learn the rhythm you will find it hard to put down. The full video tutorial and the complete written pattern are both below.
The virus blanket grows outward in a square with rounded arched sections on each side and shell-like corners. It is sometimes called a German shells blanket, and the name comes from the way the arches seem to spread and expand as you add each round.
Working through this pattern gives you practise with a satisfying set of skills:
Creating a foundation ring from a chain
Working double crochet in the round
Making a mesh round with chain-1 spaces
Building looped corner sections with chain-5 arches
Filling arches with fan clusters
Working a solid double crochet round
Changing colour cleanly between rounds
Materials and Tools
Below is what I used . You can substitute any worsted weight yarn in the colours of your choice.
Yarn: Red Heart Shimmer in Ivory and Hot Pink (worsted weight acrylic). I used a small piece of plain Red Heart worsted weight for the swatch and liked the shimmer version more for the finished look.
Hook: 4.25 mm (US size G)
Scissors
Yarn needle for weaving in ends
Please note: Any worsted weight yarn will work beautifully with this pattern. The shimmer yarn I used gives the blanket a lovely drape and a subtle sparkle, but a plain acrylic like Caron Simply Soft or Lion Brand Ice Cream works just as well.
Pattern Notes and Abbreviations
This pattern is written in US crochet terms.
Abbreviation
Meaning
ch
chain
sl st
slip stitch
dc
double crochet
sc
single crochet
sp
space
st(s)
stitch(es)
Rnd
round
Important notes:
Ch 3 at the beginning of a round counts as the first dc throughout.
The blanket is worked in the round, joined at the end of each round with a slip stitch to the top of the starting ch 3 (or to the first sc where stated).
The 4-round repeat that forms the main pattern is: Loopy Round, Fan Round, Solid Round, Mesh Round. Change colour at the start of every Loopy Round for a striped effect.
The blanket can be made any size by simply continuing to repeat the 4-round sequence.
The Written Pattern
Foundation and Set-Up Rounds
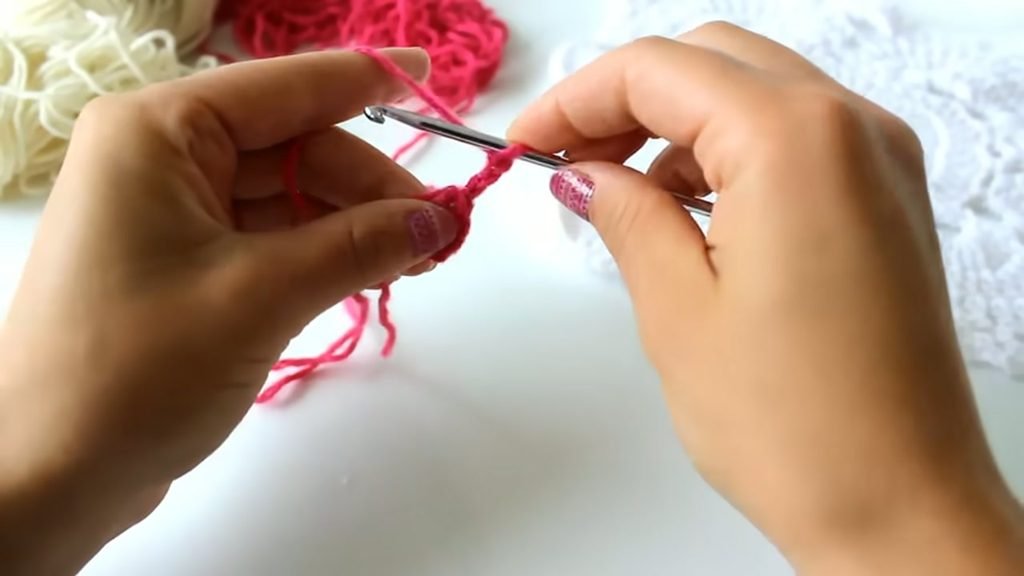
Foundation ring: Make a slip knot and leave a short tail. Ch 6, sl st into the first chain to form a ring.
Rnd 1: Ch 3 (counts as dc). Dc 19 into the ring. Sl st to top of ch 3. (20 dc)
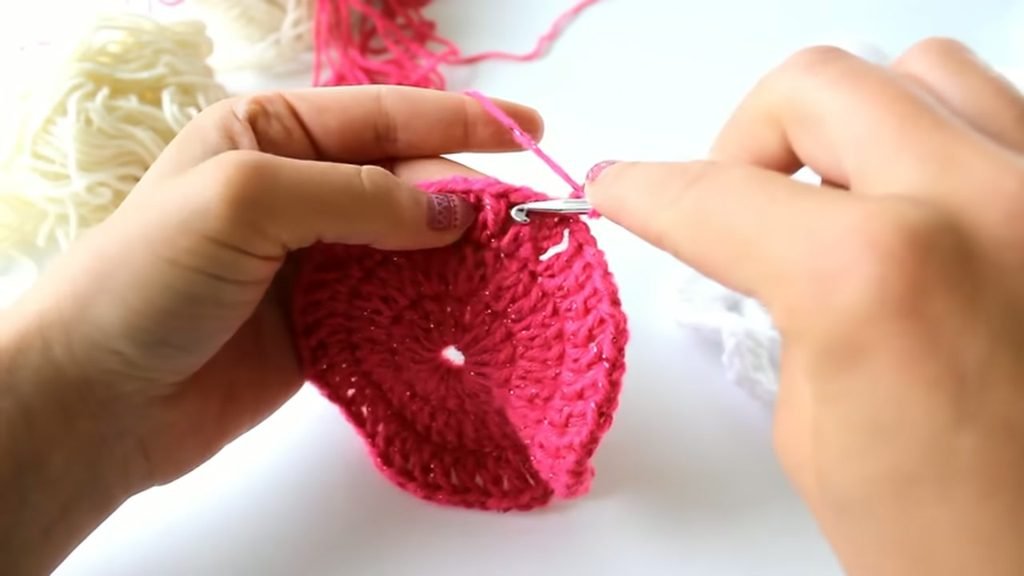
Rnd 2: Ch 3 (counts as dc). 2 dc into each stitch all the way around. Sl st to top of ch 3. (40 dc)
Rnd 3 (Mesh round): Ch 3, ch 1 (counts as dc + ch 1). *Dc into next st, ch 1; repeat from * all the way around. Sl st to top of ch 3. (40 dc, 40 ch-1 spaces)
Rnd 4: Loopy Round (Setting Up Corners)
This round creates the four corners of the blanket using pairs of ch-5 arches, with ch-3 arches forming the sides between them.
Ch 5. Skip the first ch-1 sp. Sc into the next ch-1 sp.
*[Ch 3, skip 1 ch-1 sp, sc into next ch-1 sp] 3 times (3 side loops). [Ch 5, skip 1 sp, sc into next sp] twice (corner: 2 large loops).* Repeat from * to * 3 more times for the remaining 3 corners, working 2 ch-3 side loops (instead of 3) between each subsequent corner. Join with sl st.
Please note: The side loops increase in number with every repeat of the 4-round sequence. Each time you work a Loopy Round the blanket will have more ch-3 sections between corners, and the corners themselves always remain as 2 ch-5 loops. You will also add a new ch-5 arch in each valley between existing arches as the blanket grows.
Rnd 5: Fan Round (Filling the Loops)
In this round I fill every arch with double crochet clusters.
Join yarn into any corner ch-5 arch.
Into each ch-5 corner arch: Work 10 dc. (10 dc per corner arch)
Into each ch-3 side arch: Work 7 dc. (7 dc per side arch)
After filling every arch, sc into the ch-3 spaces between arches to connect them. Sl st to join.
Rnd 6: Solid Round
Ch 3 (counts as dc). Dc 1 into each dc across, working over the chain spaces as you go. Work through each arch section, placing 1 dc per stitch. Sc into each connecting chain space. Join with sl st.
Rnd 7: Mesh Round
Ch 3, ch 1 (counts as dc + ch 1). *Dc into next st or sp, ch 1; repeat from * across each arch and chain-3 space all the way around. Sl st to join. (1 dc + ch 1 per stitch)
Repeating the Pattern
From this point the blanket grows by repeating the same 4-round cycle:
Repeat Round 1, Loopy Round: Attach yarn (change colour here if desired). Ch 5. Work ch-3 loops along the sides and ch-5 double loops at each corner. Also add a new ch-5 arch into every valley between the existing fan arches. This adds a new arch layer to the blanket in each repeat.
Repeat Round 2, Fan Round: Fill every ch-5 arch with 10 dc and every ch-3 arch with 7 dc. Sc into connecting spaces.
Repeat Round 3, Solid Round: Dc 1 into each dc across. Sc into chain spaces.
Repeat Round 4, Mesh Round: Dc, ch 1 into each stitch and space around.
Continue repeating these 4 rounds until your blanket reaches your desired size. I change colour at the start of every Loopy Round, which gives a clean stripe every four rows.
Fasten off and weave in all ends.
Video Tutorial
If you prefer to follow along visually, the full step-by-step video is below. I recommend pausing after each round to check your stitch count.
Tips and Common Mistakes
In Round 3, the work will curl and look a little uneven. This is completely normal, and it flattens out as you add more rounds, so keep going.
Always count the starting ch 3 as your first dc. It is easy to miss and end up with one stitch fewer than expected.
When filling the fan rounds, count your dc clusters carefully. Each corner ch-5 arch gets 10 dc and each side ch-3 arch gets 7 dc.
The loopy round is also where I add a new ch-5 arch into the valley between existing arches. This is what makes the blanket expand with each repeat, so do not skip this step or the sides will pull in.
I change colour every four rows, at the start of each new Loopy Round. The join looks neatest when you make the colour switch at the slip stitch at the very end of the previous round.
The holes in the blanket are part of the design, and they are a similar size to those in a granny square blanket. If you want slightly smaller gaps, try going down half a hook size.
The finished size depends entirely on how many repeats you work. Each full 4-round repeat adds a layer to every side of the square. For a baby blanket, around 6 to 8 repeats works well. For a throw or lap blanket, continue until you are happy with the size.
Can I use a different yarn weight?
Yes. I used worsted weight with a 4.25 mm hook, but you can use any weight as long as you match your hook size to the yarn. A chunky yarn will give you a larger, cosier blanket that works up faster. A DK or fingering weight will produce a more delicate, drapey result.
Do I have to change colours?
Not at all. I change colour every four rounds at the Loopy Round for the striped look, but the pattern works just as well in a single colour. You could also change every eight rounds for wider stripes, or use a self-striping yarn and let the yarn do the work for you.
What does “ch 3 counts as dc” mean?
At the beginning of each round, instead of working a dc into the same stitch, I chain 3 to reach the correct height. This chain-3 counts as the first dc of the round, so I do not work a separate dc into that first stitch. At the end of the round I slip stitch to the top of that chain 3 to join.
I would love to see your finished virus blanket, so please share it in the comments below or tag me in your photos. Happy crocheting, Meryem.