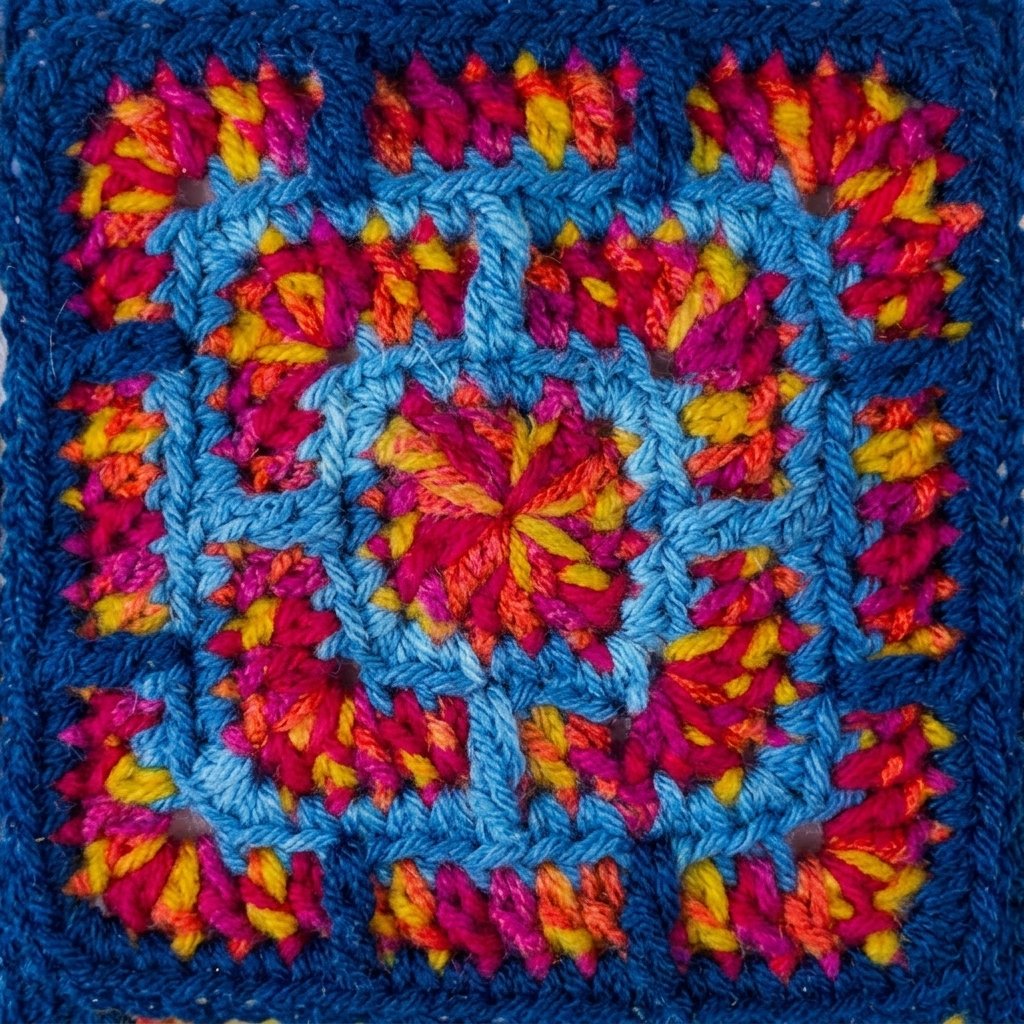
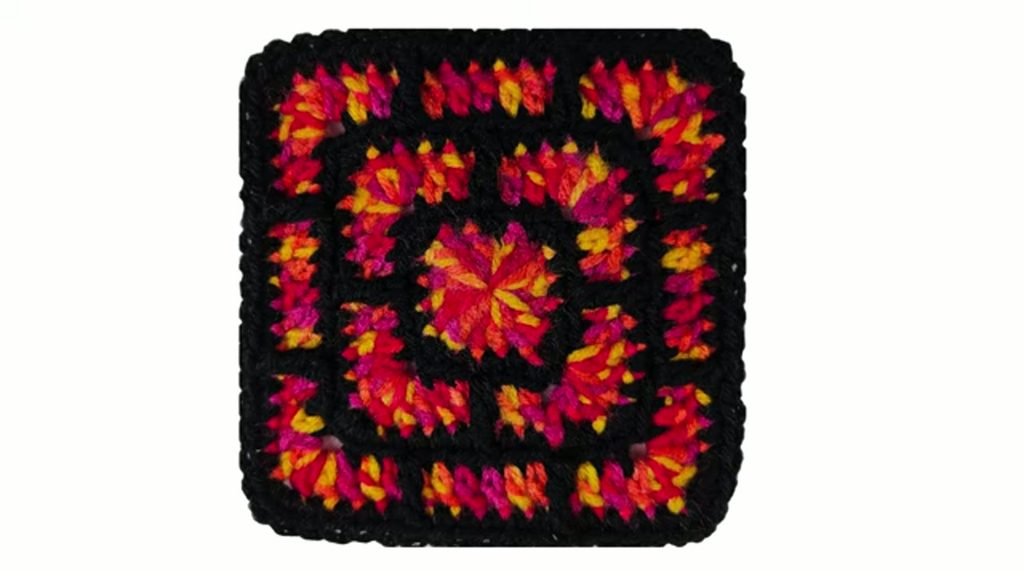
If you are looking for an eye-catching motif that looks intricate yet works up quickly, this stained glass mosaic granny square is a wonderful project to try. In this tutorial, I am going to show you how to crochet this square step by step. By pairing a vibrant variegated yarn with a solid contrasting colour like black, the pattern creates a glowing stained glass appearance that looks stunning in blankets, pillows, and tote bags. Below you will find both the full written pattern and the complete video tutorial.
Mosaic crochet in the round works by alternating rounds of your main background colour and your accent colour. Because you work specific stitches into the front loops of earlier rounds, you get a clean geometric look without cutting endless ends or carrying floats across the back. Grab your favourite variegated skein and let us get started.
/
Table of Contents
What Will I Learn?
Working through this pattern gives you hands-on experience with several popular crochet techniques:
- Starting a square with a magic ring or alternative chain ring
- Working standing stitches to create seamless round starts
- Using treble crochet stitches to shape square corners
- Working in the back loop only (BLO) to leave front loops available for mosaic details
- Dropping treble crochet stitches into unworked front loops from two rounds below
- Finishing cleanly with an invisible needle join
Materials and Tools
Below is what I used to make this square:
- Yarn: Medium weight (size 4 / worsted weight) yarn in two contrasting colours. For Colour A, I recommend a variegated yarn with bright transitions to achieve the stained glass effect. For Colour B, use a solid dark colour such as black, charcoal, or navy to act as the leading lines.
- Hook: 5.0 mm (US size H-8) crochet hook, or the size recommended on your yarn label.
- Scissors
- Yarn needle for the invisible join and weaving in yarn tails
Please note: You can make this square in any yarn weight you prefer, from lightweight DK to bulky yarn, as long as you match your hook size to the yarn chosen.
Pattern Notes and Abbreviations
This pattern is written using US crochet terms.
| Abbreviation | Meaning |
|---|---|
| ch | chain |
| sl st | slip stitch |
| sc | single crochet |
| dc | double crochet |
| tr | treble crochet |
| BLO | back loop only |
| FLO | front loop only |
| st(s) | stitch(es) |
| Rnd | round |
Key rules to keep in mind:
- You alternate colours on every single round. Fasten off each colour at the end of the round.
- Round 1, Round 3, and Round 5 are worked in Colour A (the variegated stained glass colour).
- Round 2, Round 4, and Round 6 are worked in Colour B (the solid dark border colour).
- Rounds worked in Colour A (Rounds 3 and 5) are worked in the back loop only (BLO) along the sides, which leaves the front loop exposed for the dropped treble crochet stitches in later rounds.
- In Rounds 4 and 6, when working a dropped treble crochet, work into the unworked front loop from two rounds below. Always skip the stitch directly behind the treble on the current round to maintain an accurate stitch count.
Special Stitches
Standing Double Crochet
Make a slip knot on your hook. Yarn over, insert your hook into the designated stitch, yarn over and pull up a loop (3 loops on hook). Yarn over and pull through 2 loops, then yarn over and pull through the remaining 2 loops. Alternatively, you can join with a slip stitch and chain 3 to count as your first double crochet.
Standing Single Crochet
Make a slip knot on your hook. Insert hook under both loops of the designated stitch, yarn over and pull up a loop (2 loops on hook). Yarn over and pull through both loops.
Dropped Treble Crochet (Mosaic Stitch)
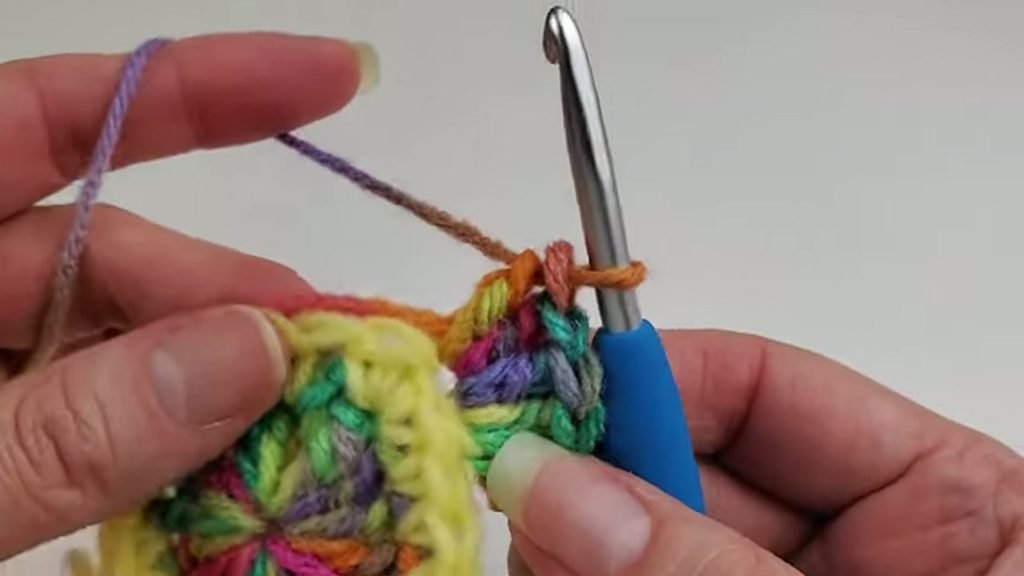
Yarn over twice. Insert hook from bottom to top under the unworked front loop of the stitch two rounds below (directly under your current position). Yarn over and pull up a loop (4 loops on hook). [Yarn over and pull through 2 loops] 3 times. Skip the single crochet stitch on the current round that sits directly behind this treble.
The Written Pattern
Round 1 (Colour A)
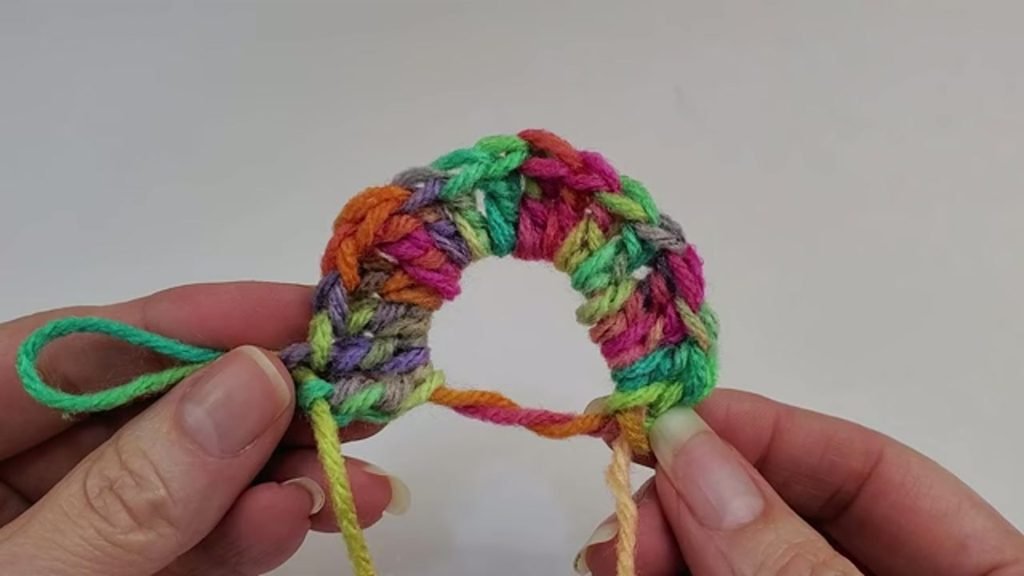
Make a magic ring (or ch 4 and sl st to the first ch to form a ring).
Work a standing dc into the ring (or join and ch 3 to count as dc). Work 2 more dc into the ring.
*Tr 1 (corner created), dc 3 into the ring.*
Repeat from * to * 2 more times.
Tr 1 into the ring to form the final corner. (12 dc, 4 tr corners; 16 sts total)
Close the magic ring tightly. Sl st to the top of your first dc. Fasten off Colour A.
Round 2 (Colour B)
Join Colour B with a standing sc under both top loops of any treble crochet corner stitch.
Work 2 more sc into the same corner stitch (3 sc in corner).
*Sc 1 in each of the next 3 dc stitches across the side. Work 3 sc into the next treble crochet corner stitch.*
Repeat from * to * 2 more times.
Sc 1 in the last 3 dc stitches. (24 sc total; 3 sc per side + 3 sc per corner)
Sl st to the first sc of the round. Fasten off Colour B.
Round 3 (Colour A: Back Loop Only)
Join Colour A with a standing dc under the back loop only (BLO) of the center (second) single crochet of any 3-sc corner cluster.
Work 4 more dc into that same back loop (5 dc in corner).
*Working in BLO across the side, dc 1 into each of the next 5 stitches. Work 5 dc into the back loop of the center corner sc.*
Repeat from * to * 2 more times.
Dc in BLO across the last 5 stitches. (40 dc total; 5 dc per side + 5 dc per corner)
Sl st to the top of the first dc. Fasten off Colour A.
Round 4 (Colour B)
Join Colour B with a standing sc into the third (center) dc of any 5-dc corner cluster.
Work 2 more sc into that same stitch (3 sc in corner).
*Sc 1 in each of the next 4 stitches.
Work 1 dropped tr into the exposed front loop of the center single crochet from Round 2 directly below. Skip the stitch behind the tr on the current round.
Sc 1 in each of the next 4 stitches.
Work 3 sc into the center dc of the next corner cluster.*
Repeat from * to * 2 more times.
Sc in next 4 sts, work 1 dropped tr into the front loop from Round 2, skip the stitch behind it, sc in the last 4 sts. (48 sts total; 9 sts per side + 3 sc per corner)
Sl st to the first sc. Fasten off Colour B.
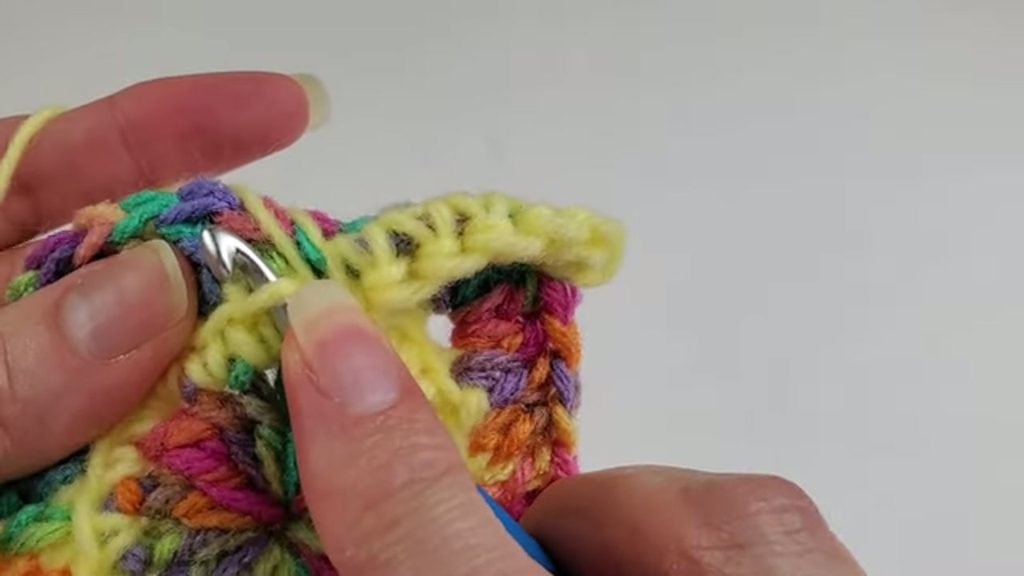
Round 5 (Colour A: Back Loop Only)
Join Colour A with a standing dc under the back loop only of the center (second) sc of any 3-sc corner cluster.
Work 4 more dc into that same back loop (5 dc in corner).
*Working in BLO across the side, dc 1 into each of the next 11 stitches. Work 5 dc into the back loop of the center corner sc.*
Repeat from * to * 2 more times.
Dc in BLO across the last 11 stitches. (64 dc total; 11 dc per side + 5 dc per corner)
Sl st to the first dc. Fasten off Colour A.
Round 6 (Colour B)
Join Colour B with a standing sc into the third (center) dc of any 5-dc corner cluster.
Work 2 more sc into that same stitch (3 sc in corner).
*Sc 1 in each of the next 4 stitches.
Work 1 dropped tr into the front loop of the stitch from Round 4 directly below. Skip the stitch behind it.
Sc 1 in each of the next 5 stitches.
Work 1 dropped tr into the front loop of the stitch from Round 4 directly below. Skip the stitch behind it.
Sc 1 in each of the next 4 stitches.
Work 3 sc into the center dc of the next corner cluster.*
Repeat from * to * 2 more times.
Sc in next 4 sts, tr in front loop from Round 4, skip st behind, sc in next 5 sts, tr in front loop from Round 4, skip st behind, sc in the last 4 sts. (72 sts total)
Fasten off Colour B leaving a 6-inch tail. Complete an invisible join using your yarn needle: thread the tail, pass under both top loops of the first stitch of the round, then back down through the center of the last stitch made. Pull gently to match stitch tension, then weave in all tails on the reverse side.
Video Tutorial
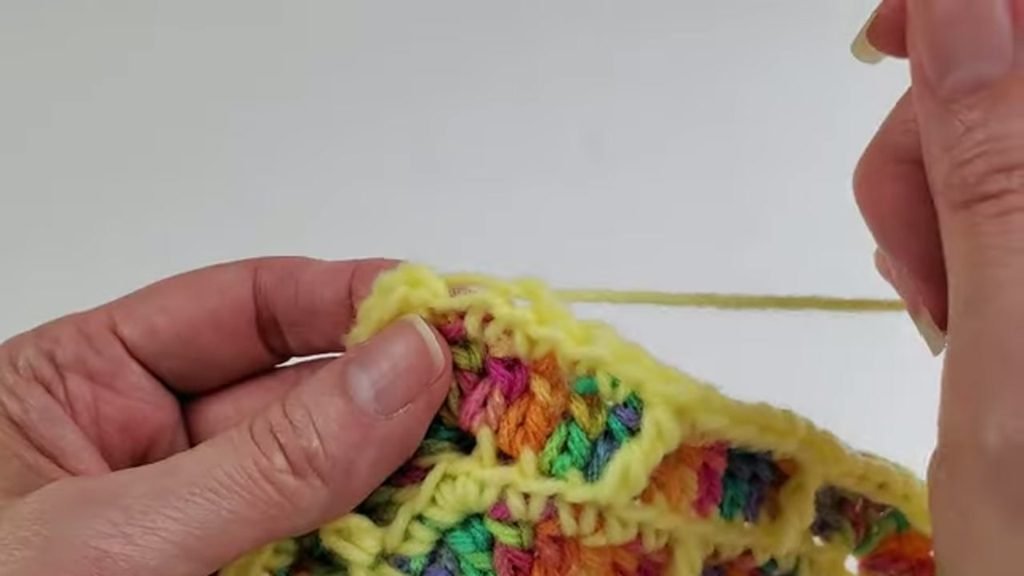
If you prefer to watch the stitches in motion, the complete step-by-step video tutorial is right here. You can pause and follow each round at your own pace.
Tips and Common Mistakes
- When working Rounds 3 and 5 in Colour A, remember to crochet into the back loop only. If you accidentally crochet under both loops, you will not have the front loop available when working the dropped treble stitches in the next round.
- Keep your dropped treble stitches relaxed and at the same height as your current round. Pulling them too tightly can cause the corners of your square to cup or pucker inward.
- Always check that you skipped the stitch behind each dropped treble crochet. Skipping that stitch prevents accidental stitch increases.
- If you find standing stitches awkward at first, you can always join with a slip stitch into the corner and chain 1 for a single crochet round, or chain 3 for a double crochet round.
- Blocking your finished squares lightly with steam or wet blocking will open up the stitches and give the geometric lines a crisp, clean appearance.
Make More
- Crochet a Virus Blanket : https://crochetpattern.us/how-to-crochet-a-virus-blanket-full-tutorial/
- Crochet Witch Hat Pattern : https://crochetpattern.us/crochet-witch-hat-pattern-full-tutorial/
- Crochet Magic Ring 2026 –> https://crochetpattern.us/crochet-magic-ring-tutorial/
FAQ
Can I make this square larger?
Yes. You can continue expanding this mosaic granny square by repeating the pattern logic: odd rounds are worked in Colour A in the back loop only with 5 double crochets in each corner, and even rounds are worked in Colour B in single crochet while dropping treble crochets into the exposed front loops two rounds below.
How much yarn do I need for a single square?
A single square uses a very small amount of yarn (approximately 15 to 20 yards total across both colours for worsted weight), making it an ideal scrap-busting pattern or great for multi-colour sample projects.
Why does my square look slightly wavy after Round 3?
Slight curling or waving after Round 3 is normal due to working five double crochet stitches into the corner points. As soon as you add the single crochet and dropped treble stitches in Round 4 and Round 6, the tension balances out and the square flattens.
What can I make with mosaic granny squares?
These squares are sturdy and decorative. Joining several squares makes an exquisite baby blanket or bed throw. You can also make four to six larger squares to assemble a decorative cushion cover, or use a pair to make a tote bag or set of mug rugs.
I would love to see your finished stained glass squares, so please share your colour combinations in the comments below or tag me in your photos. Happy crocheting, Meryem.