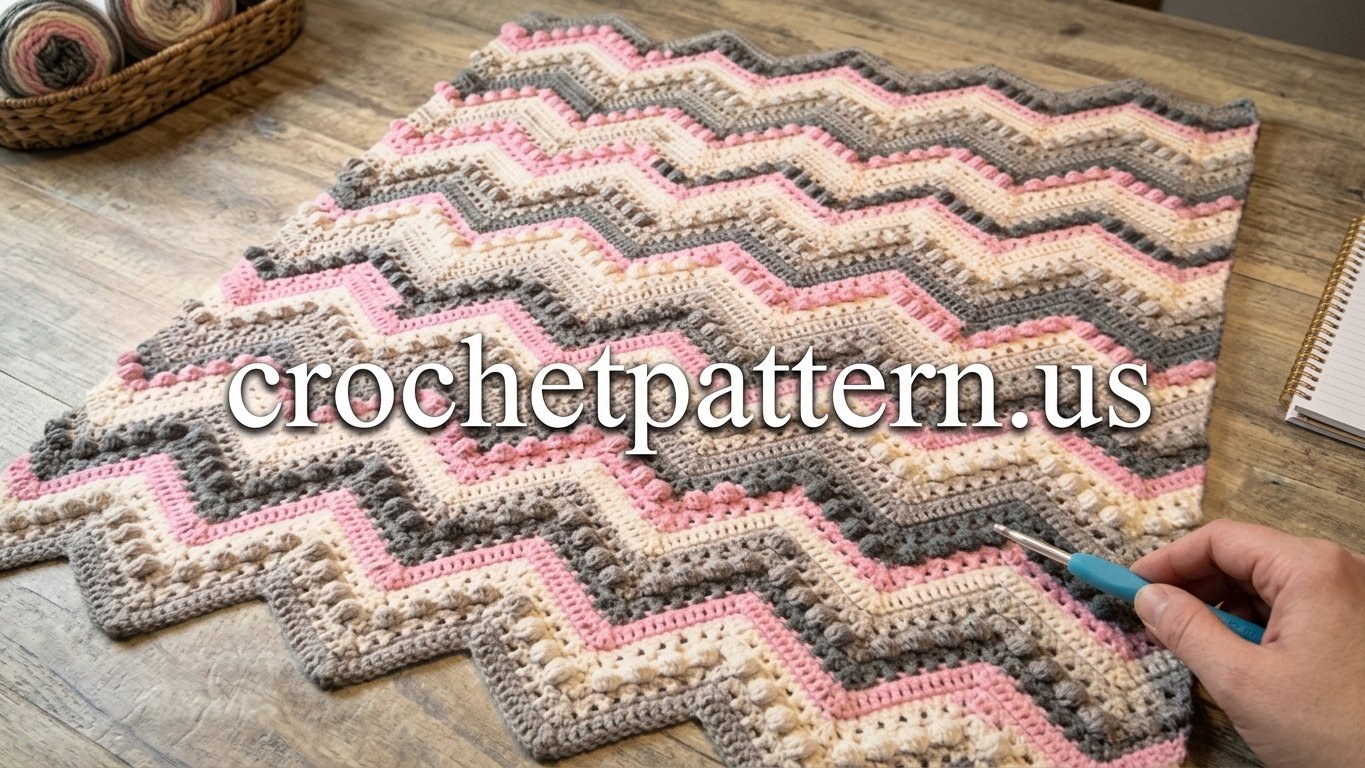
If you are looking for a baby blanket pattern bursting with rich texture and charm, this Hugs and Kisses wave blanket is a joy to make. The chevron ripple design features rows of cross stitches (the “X”s for hugs) combined with rows of plump bobbles (the “O”s for kisses). Because the stitch rhythm alternates between solid and textured rows, the project stays engaging from start to finish without feeling overwhelming. Below you will find the complete written pattern and step-by-step video tutorial.
The wave pattern looks especially striking when worked in self-striping yarn cake rolls or by alternating classic pastel colours. Whether you are crocheting a welcoming gift for an upcoming baby shower or a cosy lap throw for your favourite reading chair, this ripple blanket is sure to become an heirloom piece.
Table of Contents
What Will I Learn?
Following this tutorial will guide you through several essential and textured crochet techniques:
- Working chevron ripples with peaks (increases) and valleys (decreases)
- Crocheting three stitches together (dc3tog, sc3tog, and hdc3tog) to form sharp valleys
- Creating cross stitches (X stitches) by skipping and working back into skipped stitches
- Making 5-dc bobble stitches (O stitches) that pop cleanly forward on the right side
- Maintaining edge balances so your blanket sides remain straight and neat
- Calculating stitch multiples to customize your blanket to any width
Materials and Tools
Below is what I recommend for this blanket:
- Yarn: Worsted weight yarn (size 4 / medium weight). In the tutorial, I used Caron Baby Cakes (such as the Dreamy Rose colourway), which transitions through soft tones automatically. You can also use Caron Cakes, Caron One Pound, or any favourite worsted weight acrylic or cotton blend.
- Hook: 5.0 mm (US size H-8) crochet hook.
- Scissors
- Yarn needle for weaving in your ends
Please note: If you choose a self-striping yarn cake, the colour transitions will flow naturally across the chevron peaks and valleys. If you prefer to change colours manually, changing shades every two or four rows gives a lovely clean stripe effect.
Finished Size and Multiples
- Standard Baby Blanket Size: Starting chain of 158 chains (creates 5 full wave repeats plus edge half-waves, measuring approximately 36 inches wide by 40 inches long).
- Custom Sizing Multiple: Chain in multiples of 28 + 18.
Example: Chain 28 as many times as you like until you reach your desired width, then add 18 chains to balance the ends. Keep in mind that as the wave ripples up and down, the fabric will draw in slightly narrower than your flat starting chain.
Pattern Notes and Abbreviations
This pattern is written in US crochet terms.
| Abbreviation | Meaning |
|---|---|
| ch | chain |
| sl st | slip stitch |
| sc | single crochet |
| hdc | half double crochet |
| dc | double crochet |
| dc3tog | double crochet 3 stitches together (valley decrease) |
| sc3tog | single crochet 3 stitches together |
| hdc3tog | half double crochet 3 stitches together |
| st(s) | stitch(es) |
| rep | repeat |
Pattern Flow:
- The blanket begins with a foundation chain and Row 1.
- Rows 2 through 9 form the master 8-row repeat sequence:
- Row 2: Single crochet stabilizing wave
- Row 3: Cross stitches (Hugs / X’s)
- Row 4: Single crochet stabilizing wave
- Row 5: Bobbles (Kisses / O’s)
- Row 6: Single crochet stabilizing wave
- Row 7: Cross stitches (Hugs / X’s)
- Row 8: Single crochet stabilizing wave
- Row 9: Solid double crochet wave
- Notice how every even row is a gentle single crochet wave, providing a relaxing rest between texture rows and giving the stitches stable support.
Special Stitches
Cross Stitch (X-Stitch)
Skip the next stitch, dc in the following stitch. Working in front of the stitch just made, dc into the skipped stitch.
Bobble Stitch (5-dc Cluster)
Yarn over, insert hook into designated stitch, yarn over and pull up a loop (3 loops on hook). Yarn over and pull through 2 loops (2 loops remain on hook). Repeat this in the same stitch 4 more times until you have 6 loops on your hook. Yarn over and pull through all 6 loops. Push the bobble to the right side of your fabric as you complete the following stitch.
dc3tog (Double Crochet 3 Together)
[Yarn over, insert hook into next stitch, yarn over and pull up a loop, yarn over and pull through 2 loops] 3 times across the designated 3 stitches (4 loops on hook). Yarn over and pull through all 4 loops.
The Written Pattern
Ch 158 (or any multiple of 28 + 18).
Row 1 (Foundation Double Crochet Wave)
Dc in the 4th ch from the hook (skipped 3 ch count as first dc).
Dc in each of the next 5 ch.
*Dc3tog across the next 3 ch (valley).
Dc in each of the next 12 ch.
3 dc in the next ch (peak).
Dc in each of the next 12 ch.*
Repeat from * to * across until 9 ch remain.
Dc3tog across the next 3 ch.
Dc in each of the next 5 ch.
2 dc in the last ch. Turn.
Row 2 (Single Crochet Wave)
Ch 1. 2 sc in the very first st.
Sc in each of the next 5 sts.
*Sc3tog across the next 3 sts (valley).
Sc in each of the next 12 sts.
3 sc in the next st (peak).
Sc in each of the next 12 sts.*
Repeat from * to * across until 9 sts remain.
Sc3tog across next 3 sts.
Sc in each of the next 5 sts.
2 sc in the top of the turning chain. Turn.
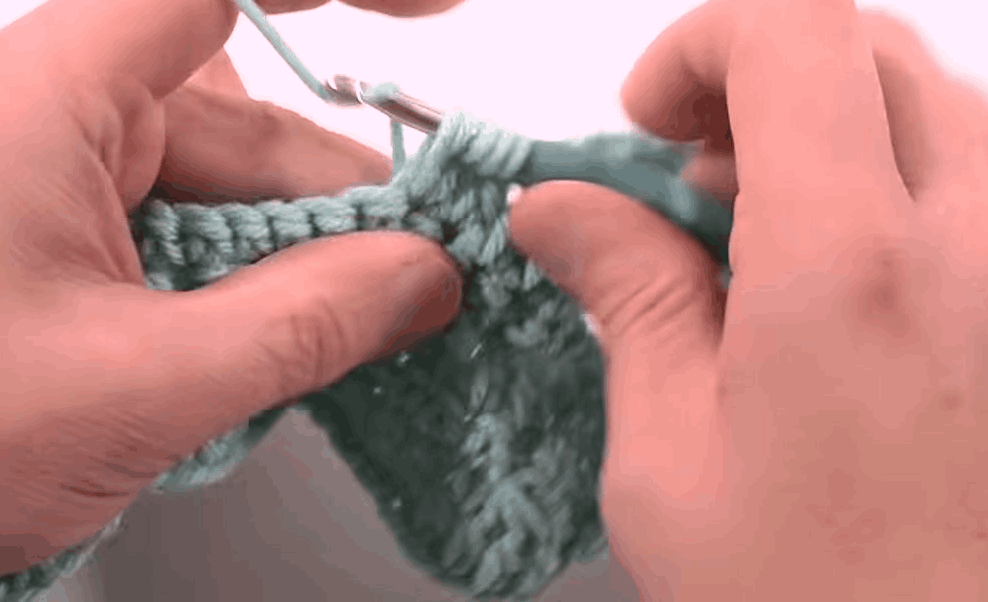
Row 3 (Cross Stitch / Hugs Row)
Ch 3 (counts as dc).
Skip the second st, dc in the next st, dc into the skipped st (edge cross stitch).
Work 3 more cross stitches down the slope (over the next 6 sts).
*Dc3tog across the next 3 sts (valley).
Work 6 cross stitches up the slope (over the next 12 sts).
3 dc in the center peak st.
Work 6 cross stitches down the slope (over the next 12 sts).*
Repeat from * to * across until 9 sts remain.
Dc3tog across next 3 sts.
Work 3 cross stitches up the slope (over 6 sts).
Skip next st, dc in last st, dc in skipped st (final edge cross stitch).
Dc 1 into the last st. Turn.
Row 4 (Single Crochet Wave)
Repeat Row 2.
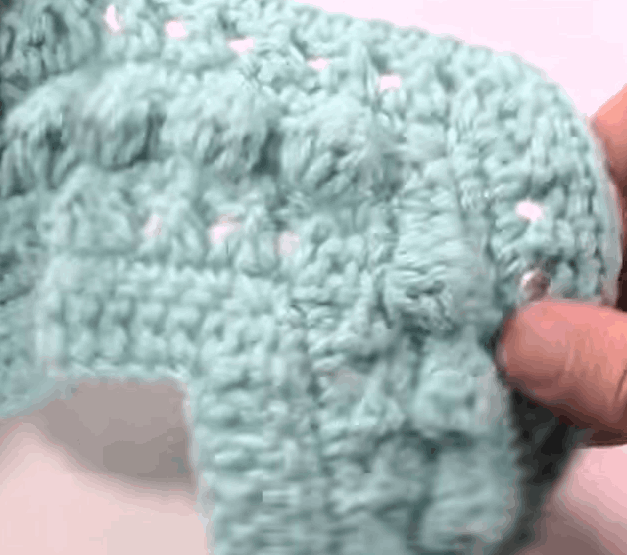
Row 5 (Bobble Stitch / Kisses Row)
Ch 2 (counts as hdc), hdc in the very first st.
Work 1 Bobble in the next st.
Hdc in each of the next 2 sts, 1 Bobble in the next st, hdc in the next st (2 bobbles completed on the edge slope).
*Hdc3tog across the next 3 sts (valley).
[Hdc in next st, 1 Bobble in next st, hdc in each of next 2 sts, 1 Bobble in next st, hdc in each of next 2 sts, 1 Bobble in next st, hdc in next st, 1 Bobble in next st] (4 bobbles going up the slope).
Hdc in next st.
3 hdc in the center peak st.
Hdc in next st.
[1 Bobble in next st, hdc in next st, 1 Bobble in next st, hdc in each of next 2 sts, 1 Bobble in next st, hdc in each of next 2 sts, 1 Bobble in next st, hdc in next st] (4 bobbles going down the slope).*
Repeat from * to * across until 9 sts remain.
Hdc3tog across the next 3 sts.
Hdc in next st, 1 Bobble in next st, hdc in each of next 2 sts, 1 Bobble in next st.
2 hdc in the top of the turning chain. Turn.
Row 6 (Single Crochet Wave)
Repeat Row 2.
Row 7 (Cross Stitch / Hugs Row)
Repeat Row 3.
Row 8 (Single Crochet Wave)
Repeat Row 2.
Row 9 (Solid Double Crochet Wave)
Ch 3 (counts as dc), dc in the very first st.
Dc in each of the next 5 sts.
*Dc3tog across the next 3 sts (valley).
Dc in each of the next 12 sts.
3 dc in the next center peak st.
Dc in each of the next 12 sts.*
Repeat from * to * across until 9 sts remain.
Dc3tog across next 3 sts.
Dc in each of the next 5 sts.
2 dc in the last st. Turn.
Continuing Your Blanket
To continue growing your blanket, repeat Rows 2 through 9 consecutively until you reach your desired blanket length.
To complete your blanket with a neat matching edge, finish on a Row 2 (a single crochet wave) or a Row 9 (a double crochet wave). Fasten off and weave in all yarn tails securely.
Video Tutorial
If you prefer to follow along with each stitch row by row, watch the full video tutorial below:
Tips and Common Mistakes
- When chaining your foundation row, keep your tension slightly loose. If your starting chain is too tight, the bottom edge will pull upward and will not ripple cleanly.
- Remember that every even row is a simple single crochet row. Take advantage of these rows to count your stitches: you should always have 12 single crochets on each slope between the valley decrease and the peak increase.
- When working Row 5 bobbles, be sure to pop the cluster outward toward the right side of the fabric.
- When making cross stitches in Row 3 and Row 7, always cross back consistently (either always from the front or always from the back) to keep the diagonal lines uniform across the blanket.
- If you find your edges beginning to slant or wander, check that you are placing 2 stitches into the very first stitch and 2 stitches into the last stitch of every row.
Make More
- virus crochet blanket pattern —> https://crochetpattern.us/how-to-crochet-a-virus-blanket-full-tutorial/
- Square Shell Crochet Baby Blanket Pattern —-> https://crochetpattern.us/crochet-baby-blanket-pattern-square-shell/
FAQ
Can I make this blanket in a single solid colour?
Yes! Working the Hugs and Kisses blanket in a solid cream, soft grey, or pastel mint highlights the texture of the cross stitches and bobbles without any colour distraction.
Why does my starting chain look much wider than the blanket?
A flat chain stretches straight across, but as soon as you work Row 1, the zig-zag peaks and valleys condense the fabric width by about 15% to 20%. This is normal for ripple blankets.
How many cakes or skeins of yarn do I need?
For a baby blanket measuring around 36 by 40 inches, you will need approximately 1,000 to 1,200 yards of worsted weight yarn (about two large Caron Cakes or three Caron Baby Cakes).
Can I add a border to this blanket?
Because the top and bottom already form decorative chevron waves, many crocheters leave the edges natural. If you prefer a border, working a round of single crochet evenly along both side edges gives a crisp, tailored frame.
I would love to see your finished Hugs & Kisses blankets, so please share your colour choices in the comments below or tag me in your photos. Happy crocheting, Meryem.
One thought on “Crochet hugs and kisses wave blanket ”